This article applies to RealVNC Connect through version 7.
Imagine you’re on the go, away from your desk, and you need access to your Mac — whether it’s to retrieve files, run an important program, or fix an issue. Remote access allows you to control your Mac from your iPad, offering flexibility and convenience no matter where you are.
While Apple’s Continuity and Handoff features let you move smoothly between devices, remote access goes further. It gives you full control over your Mac from any location as if you were sitting right in front of it. This is especially helpful for professionals who work remotely, IT teams managing devices, or anyone who needs to control their Mac remotely.
So, let’s go through the process of setting up remote access and choosing the best remote desktop app for your needs. Let’s dive in.
Choosing the Right Remote Desktop App
For remote access to work well, your choice of app is crucial. You’re looking for high performance and security to make sure the experience is smooth and your data is safe. Here are some of the key factors to consider:
Performance
A good remote desktop app should feel like you’re using your Mac in real time, even if you’re halfway across the world. To get that, you need:
- Low-latency – The app should respond quickly, with minimal lag, so your interactions feel instant.
- Network adaptability – Internet speeds aren’t always great, so your app should automatically adjust to keep the connection stable without sacrificing too much performance.
Security
Security is critical because you’re opening a digital doorway between your iPad and Mac. Look for:
- 256-bit AES encryption – This is a gold standard for keeping your data secure. It ensures that any data transmitted between your devices is unreadable to outsiders.
- TLS protocols – These are used to create a secure communication channel, so you don’t have to worry about unauthorized access while controlling your Apple devices remotely.
Compatibility
Make sure the app works smoothly with both iPad and Mac. And if you’re juggling different devices or platforms, like Windows or Linux, choosing an app that supports multiple platforms will save you headaches down the road.
Popular Remote Desktop Apps
Let’s look at a few popular options that offer decent remote access functionality:
- Chrome Remote Desktop App – This is an option and easy to use, but it’s tied to Google’s ecosystem. It’s great for simple tasks but lacks deeper features for more demanding users.
- Avica Remote Desktop – Known for its user-friendly interface and easy setup. It’s a decent option for basic use but doesn’t offer as much when it comes to security or advanced functions.
Now, if you’re looking for a high-performance, secure, and reliable remote desktop solution, RealVNC Connect is one of the best choices out there. It uses 256-bit AES encryption and TLS protocols to protect your data, making it ideal for sensitive tasks. Plus, it works across Mac, Windows, Linux, and Raspberry Pi.
It’s easy to use, and more importantly, it gets the job done, giving you peace of mind that your connection is secure and reliable. Why not try it out for free? Sign up today for a 14-day free trial.
Setting Up Remote Access on Your Devices
Getting remote access between your iPad and Mac is simpler than it sounds, but there are a few key steps to make sure everything runs smoothly. Follow this guide to make sure your devices are set up correctly, secure, and ready for remote access with RealVNC Connect:
1. Enable Screen Sharing on Your Mac
To start, you need to enable Screen Sharing on your Mac. This allows other devices, like your iPad, to connect and control a Mac remotely.
Here’s how to do it:
- Select System Preferences on your Mac.
- Click on Sharing.
- In the left-hand menu, check the box next to Screen Sharing.
- Click Computer Settings and make sure “VNC viewers may control screen with password” is selected.
- Set a password that will be required for remote access, then click OK.
Now, your Mac is ready to accept remote connections.
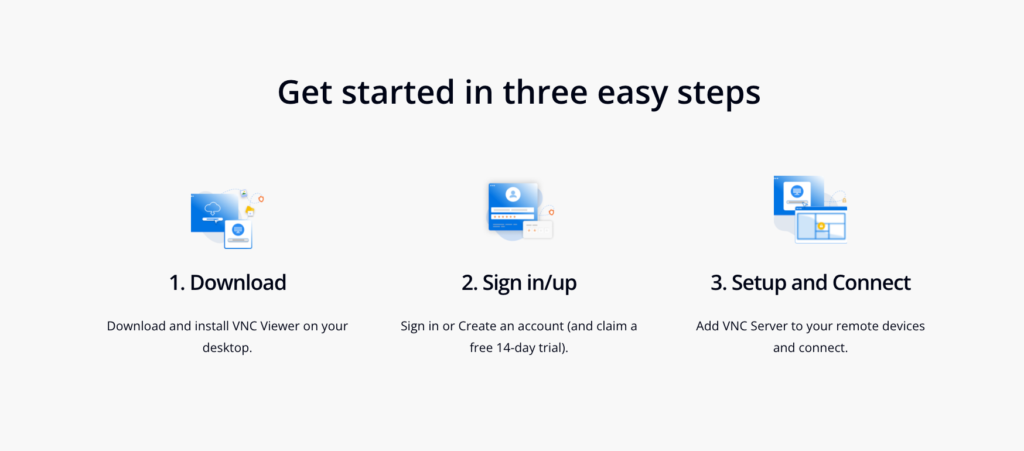
2. Download and Install RealVNC Connect on Your Mac
Next, you’ll need to install RealVNC Connect on your Mac. This software acts as the “host” that allows your iPad to control your Mac.
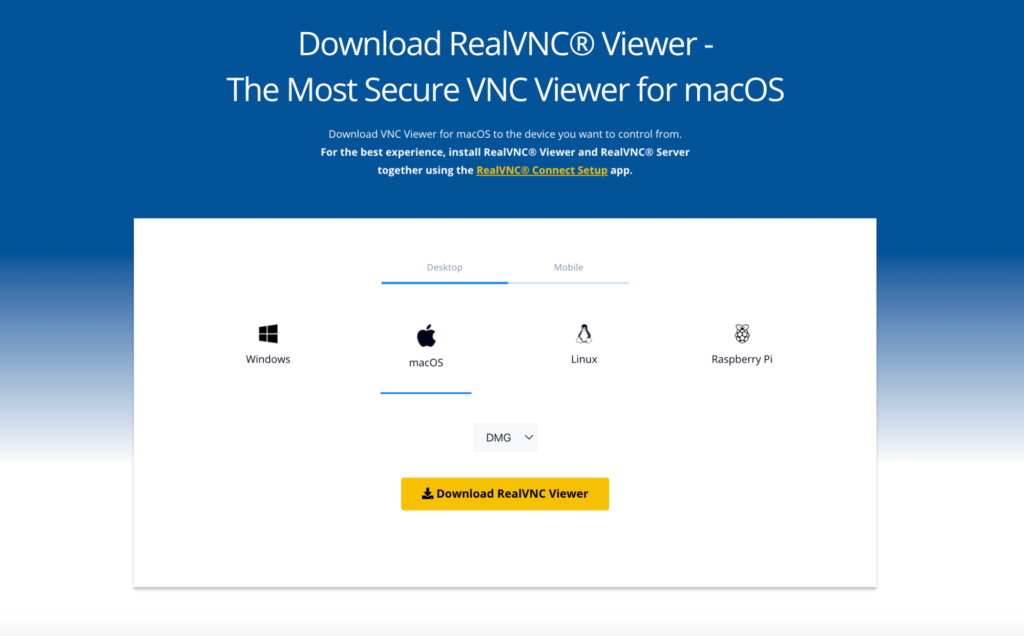
- Go to the RealVNC website and download RealVNC Connect for Mac.
- Install the software and follow the setup instructions on your Mac’s screen.
- Once installed, sign in with your RealVNC account. If you don’t have one yet, you can create one during this process.
3. Install RealVNC Connect on Your iPad
Now that your Mac is set up, it’s time to prepare your iPad for remote access.
- Head to the App Store on your iPad and download RealVNC Connect.
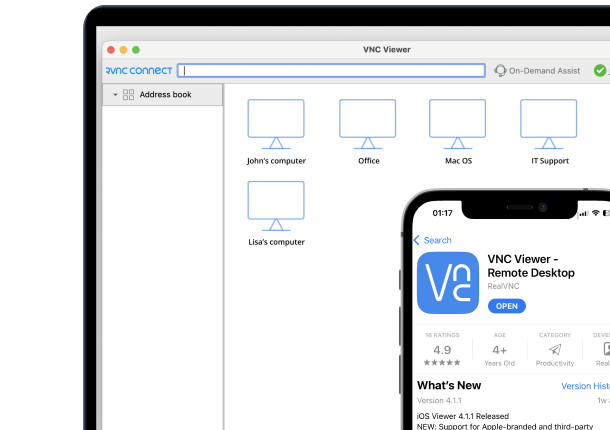
- Open the app, sign in with your RealVNC account, and you’ll see a list of available devices. Your Mac should appear in this list.
4. Ensure Both Devices Are on the Same Wi-Fi Network (for Initial Setup)
For the first connection, both your Mac and iPad should be on the same Wi-Fi network. This makes the initial setup faster and more stable. Later, you can connect from different networks without any issues.
5. Connect and Configure Access
Once you’ve downloaded the necessary apps, follow these steps to connect and allow remote control:
- Open RealVNC Connect on your iPad.
- Select your Mac from the device list.
- Enter the password you set up earlier during the Screen Sharing configuration on your Mac.
- Once connected, you’ll have full control over your Mac’s desktop from your iPad.
6. Configure Platform Switching
RealVNC Connect supports cross-platform access, allowing you to switch between different operating systems (Mac, Windows, Linux) seamlessly. You can configure this easily:
- From your RealVNC Viewer on iPad, go to settings and make sure Platform Switching is enabled.
- This allows you to control not just your Mac but also other devices you may have, directly from your iPad.
Tip: To make sure your connection is secure, enable additional security features, such as multi-factor authentication and a blank screen, so that no one else can see what you’re doing during your remote session.
Using Switch Control for Better Accessibility
Switch Control is an accessibility built-in feature that comes with Apple devices, allowing you to control multiple Apple devices using just one. With it, you can operate your Mac from your iPad over the same Wi-Fi network as long as both devices share the same Apple ID. Here’s how to set it up and make the most of it:
1. Activate Switch Control on Your iPad
- Open Settings on your iPad.
- Go to Accessibility > Switch Control.
- Toggle Switch Control to enable it.
2. Allow Platform Switching to Control Your Mac
- Still in the Switch Control menu on your iPad, go to Devices.
- Select Allow Platform Switching to Control Your Computer.
- This option allows your iPad to control your Mac as long as they are both connected to the same Wi-Fi network and Apple ID.
3. Add Desired Switches
- In the Switch Control menu, select Switches.
- Tap Add New Switch, then choose a source (such as your iPad’s screen or an external device like a Bluetooth keyboard).
- Customize the switch actions based on how you want to control your Mac remotely (e.g., tapping the screen to select items).
4. Use Switch Control to Access Your Mac
- Once everything is set up, you can use the Switch Control menu on your iPad to remotely control your Mac.
- Use the on-screen menu to access files, open apps, and navigate your Mac’s interface, all from your iPad.
Establishing a Remote Connection
To establish a remote control connection to your Mac from your iPad using RealVNC Viewer, follow these steps:
Launch the remote desktop app on your iPad (in this case, RealVNC Viewer).
From the list of available devices, select your Apple device (Mac).
Enter your credentials (the username and password set during the Mac’s Screen Sharing setup) to establish a secure connection.
Wait for the connection to be established, and then your iPad will mirror your Mac’s desktop, allowing you to control it as if you were sitting in front of it.
Now, you can access files, applications, and system settings directly from your iPad. With full access, you’ll be able to manage everything remotely with ease.
Troubleshooting Common Issues
Even the best remote desktop software may occasionally face issues. Here’s how to address the most common problems:
- Do you have connectivity stability issues? Ensure both devices are connected to a stable network. Optimizing data transmission may involve reducing the image quality or switching to a more reliable Wi-Fi connection.
- Slow input responsiveness? If there’s a delay in inputs, try lowering the display resolution or turning off unnecessary background apps to minimize remote session latency.
- Poor display and resolution compatibility? Adjust your resolution and scaling settings in the remote desktop app to ensure you get a clear, readable display, whether you’re on an iPad or other mobile device.
- Do you have security concerns? Make sure your sessions are encrypted with 256-bit AES encryption and TLS protocols. This protects your connection from any unauthorized access.
Security Considerations for Remote Access
When it comes to remote access, security is a top priority. Here’s how to keep your connection secure:
- Use a remote desktop app that offers 256-bit AES encryption and TLS protocols, such as RealVNC Connect, to protect your data.
- Turn on multi-factor authentication (MFA) for an extra layer of security.
- Make sure both your iPad and Mac are connected to a secure Wi-Fi network. Avoid public networks when accessing sensitive information.
- Regularly update your remote desktop software and operating systems to benefit from the latest security patches.
Advanced Features and Tips
Once you’ve mastered the basics, here are some advanced features to improve your experience:
- Once Switch Control is set up, you can use your iPad to control other Apple devices, such as an iPhone, Apple TV, or even a Windows PC if it’s configured properly.
- Try the high-definition streaming feature, which allows you to get a clear, sharp view of your Mac’s screen, even when accessing it from afar.
- If your connection is slow, you can lower the resolution to keep the session running smoothly, avoiding annoying lags or disconnections.
- Use the platform switching feature to control multiple devices, regardless of their operating system, all from one app. With platform switching, you can control not just your Mac but also Windows PCs, Linux machines, and more, all from your iPad.
Take Full Control of Your Mac with RealVNC Connect
By now, you’ve learned how easy it is to access your Mac from your iPad remotely.. If you’re ready to take control of your devices with top-notch security and seamless connections, why not give RealVNC Connect a try?
You can start with a free 14-day trial, no credit card required, and experience how easy and reliable remote access can be. Start your free trial today!
FAQs for Remote access Mac from iPad
Can I remote access my Mac from my iPad?
Yes, with the right remote desktop app like RealVNC Connect, you can easily remotely control your Mac from your iPad.
Can I access remote desktop from iPad?
Yes, apps like RealVNC Connect and Chrome Remote Desktop let you access a remote desktop from your iPad.
Can a Mac be remotely accessed?
Yes, using a remote desktop app, you can remotely access your Mac from any compatible device, including an iPad.
Can I see my Mac desktop on my iPad?
Yes, by using a remote desktop app, your Mac’s desktop will appear on your iPad screen, allowing you to control it.
Is remote access from iPad to Mac secure?
Yes, if you use an app like RealVNC Connect with 256-bit AES encryption and TLS protocols, your connection will be secure.