
Running Pi OS Bookworm or Trixie?
Please see our guide: RealVNC Connect and Raspberry Pi
This article applies to RealVNC Connect through version 7.
In this guide, we’ll walk you through everything you need to know about enabling VNC on your Raspberry Pi and using RealVNC for remote access, including tips for getting started and ensuring a smooth experience.
Can you control Raspberry Pi remotely?
Yes, with RealVNC Connect, you can securely access and control your Raspberry Pi remotely, whether you’re using it with a display or as a headless Raspberry Pi.
This is perfect for situations where you may wish to have your Raspberry Pi constantly performing tasks, but don’t necessarily need visual access to it all the time.
Why Use RealVNC Connect With Raspberry Pi?
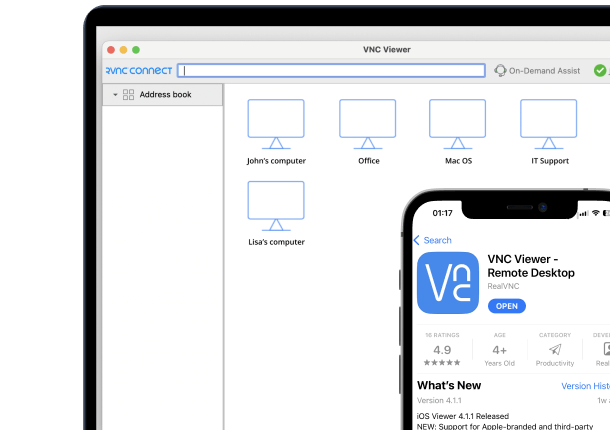
RealVNC Connect makes it easy to access Raspberry Pi devices remotely, giving you the full GUI (Graphical User Interface) so you can interact with your Pi as if you were right in front of it. You can configure settings, run applications, troubleshoot, and manage your Raspberry Pi from any device, whether it’s Windows, macOS, Linux, or even a smartphone or tablet.
What you’ll need before you start:
Setting up VNC on a Raspberry Pi takes only a few things:
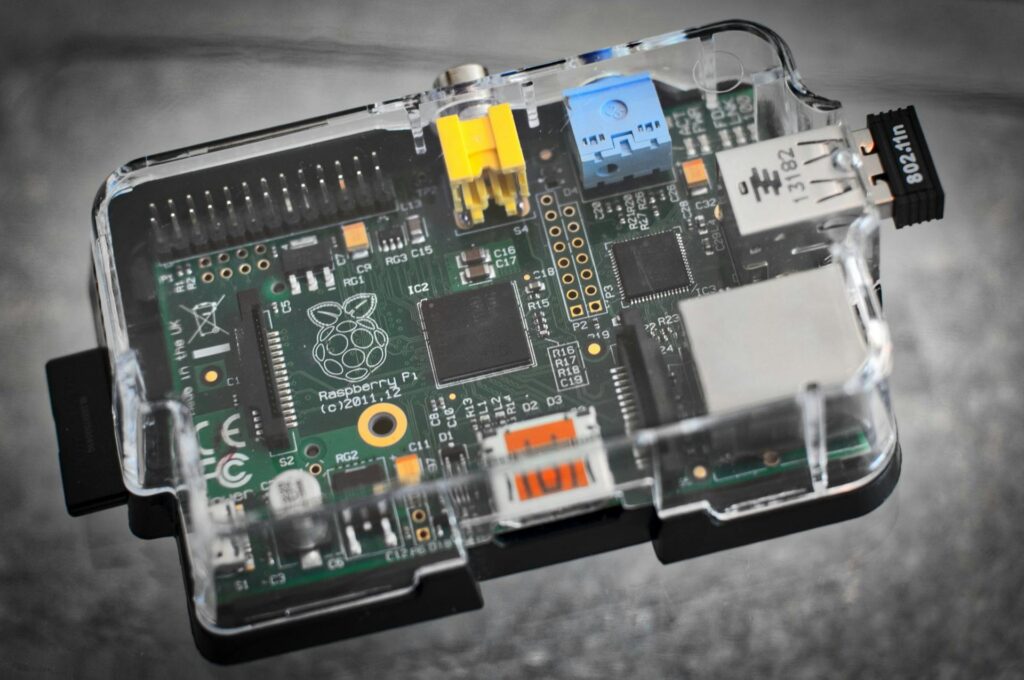
- A Raspberry Pi running Raspberry Pi OS. Any current model works
- A microSD card with the operating system installed using Raspberry Pi Imager
- RealVNC Server on the Pi and RealVNC Viewer on the computer you’ll connect from
- A Windows, macOS, or Linux computer, or an iOS or Android device, to use as your VNC client
- Both devices on the same local network for your first connection. You can switch to cloud access afterward.
Ready to experience the convenience of remote access? Sign up for a free trial today and see how easily you can access Raspberry Pi hardware from anywhere.
1. Ensure software is up to date
The first step when setting up a remote desktop for Raspberry Pi is to ensure that your Raspberry Pi OS and installed packages are up to date.
In order to update the packages running on your device, you’ll need to run the following two commands:
Terminal $
sudo apt update
sudo apt upgrade
2. Enable RealVNC on Raspberry Pi
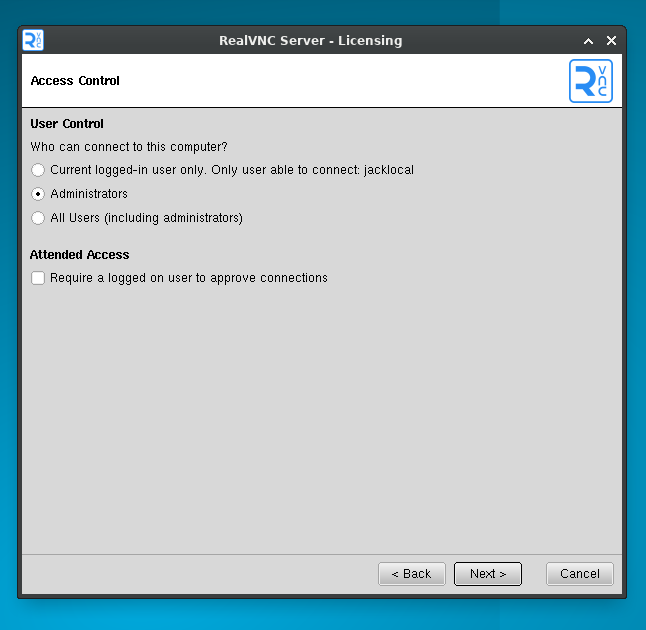
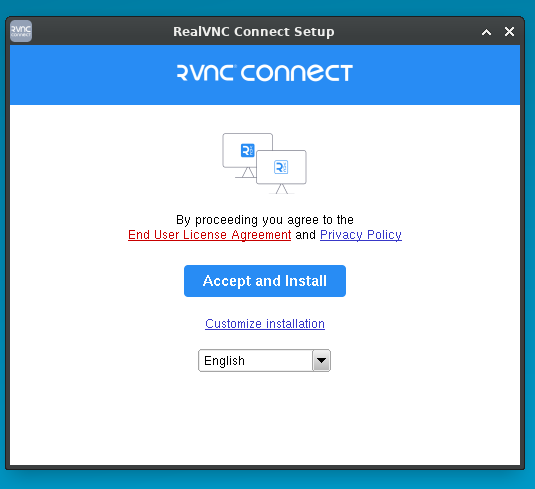
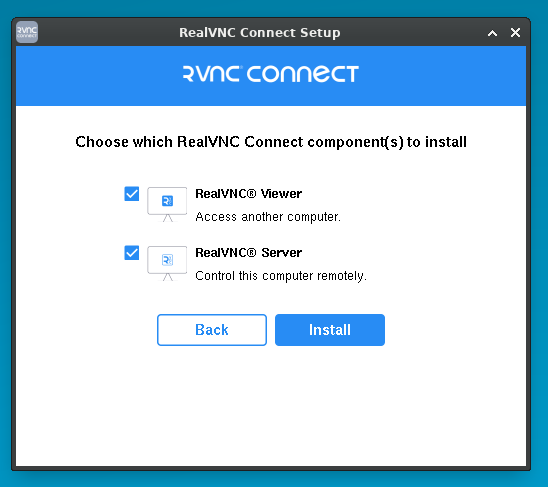
The next step is to install RealVNC Server on your Raspberry Pi device.
To do this, run the following command:
Terminal $
sudo apt install realvnc-vnc-server realvnc-vnc-viewer
RealVNC will be disabled by default on your Raspberry Pi device, however you can easily enable it using either the desktop or the terminal.
To enable RealVNC on the desktop, navigate to the start menu > Preferences > Raspberry Pi Configuration.
Then select ‘Interfaces’, and click ‘Enable’ next to VNC. Then click ‘OK’.
To enable VNC using the terminal, enter the following command:
Terminal $
sudo raspi-config
Using the arrows, navigate to ‘Interfacing Options’ > ‘VNC’, then choose ‘Yes’ and select ‘OK’.
3. Complete the connection
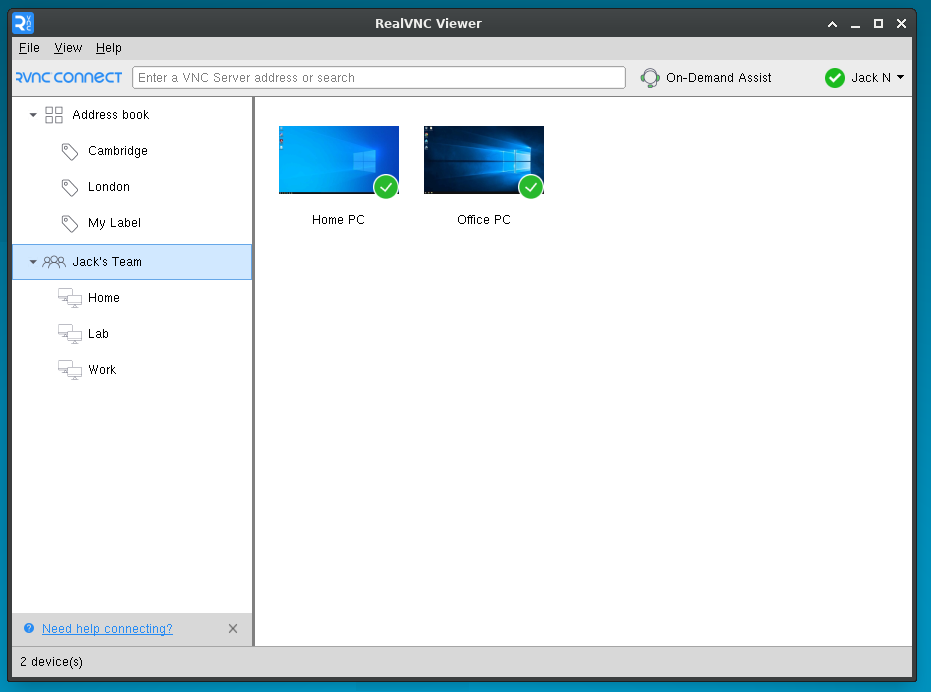
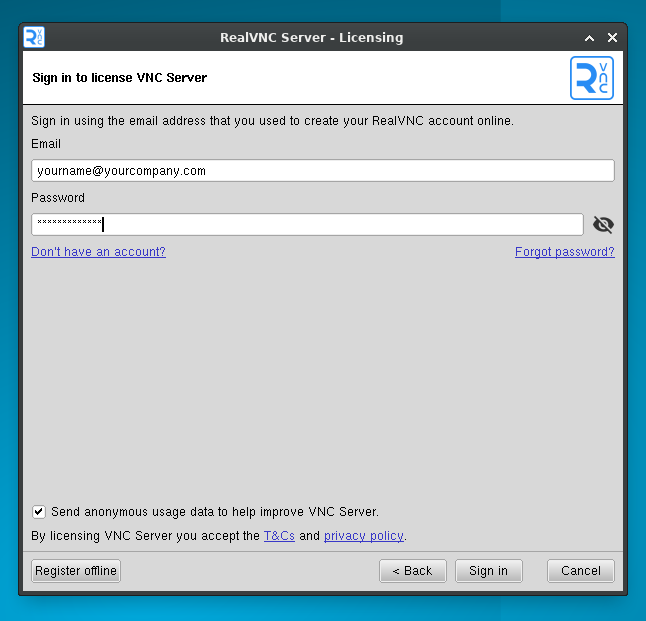
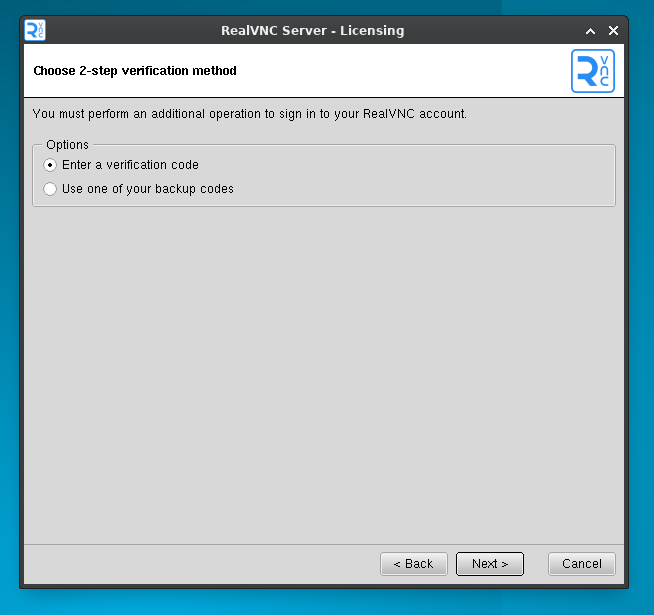
Log in to your Raspberry Pi device using your RealVNC® account. Then, log in to the same account on the device running RealVNC Viewer. Your Raspberry Pi device should show as an available connection.
If you have a headless Raspberry Pi, you can also connect without using a RealVNC account. Simply make note of the IP address shown in RealVNC Server, which will allow you to initiate a Direct Connection.
How to find your Raspberry Pi’s IP address
If you’re making a Direct Connection or running a headless Raspberry Pi, you’ll need its IP address. The quickest way is to open a terminal window on the Raspberry Pi and run:
Terminal $
hostname -I
The first value returned is your Pi’s IP address on the local network (something like 192.168.0.5). If your Raspberry Pi is headless, you can also find it by checking your router’s list of connected devices, or by using a network scanning tool such as nmap or a mobile app like Fing.
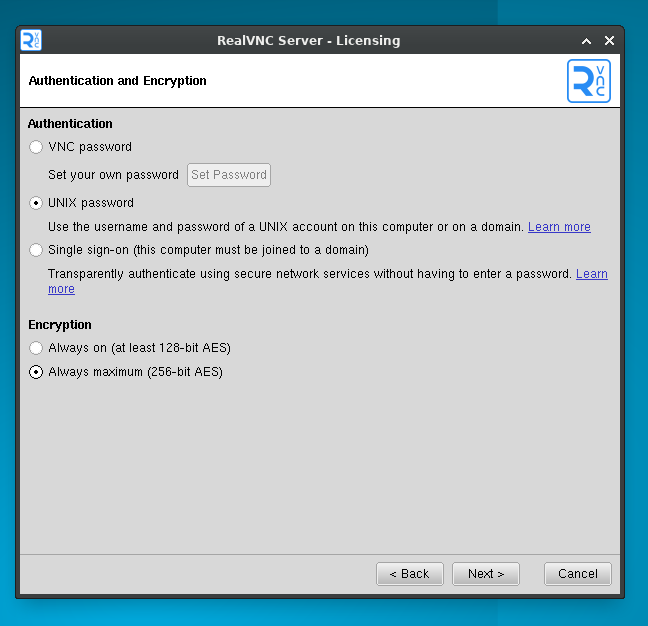
When asked for login credentials, use the username and password you set up for your Raspberry Pi. Current versions of Raspberry Pi OS no longer ship with a default ‘pi’ account and ‘raspberry’ password. You create your own when you first set up the device in Raspberry Pi Imager or on first boot, so use those details here.
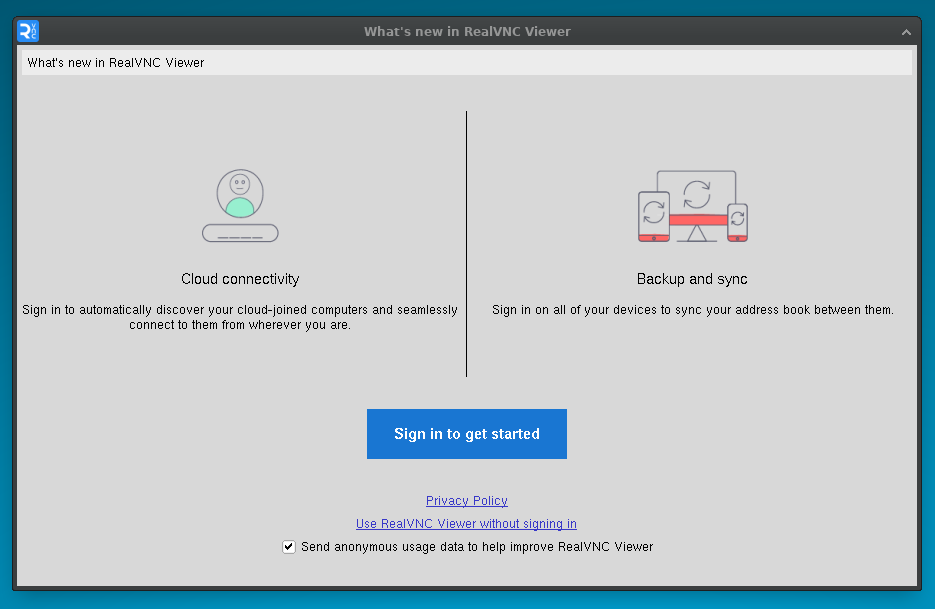
Congratulations – you’ve now completed the setup of RealVNC Connect on a Raspberry Pi device.
Using RealVNC Connect for a Raspberry Pi virtual desktop
If you wish to do this, run the following command on your Raspberry Pi device:
Terminal $
vncserver
Write down the IP address and display number shown. Then you can enter these details into RealVNC Viewer, and you’ll be able to connect.
If you wish to stop the remote virtual desktop, enter the following command:
Terminal $
vncserver-kill:<display-number>
Secure, Seamless Access to Your Raspberry Pi
With RealVNC Connect, you can effortlessly and securely remotely control your Raspberry Pi, whether it’s connected to a monitor or operating as a headless device. Manage projects, transfer files, and monitor system properties—all from your device of choice, no matter where you are.
Ready to experience the convenience of remote access? Sign up for a free trial today and see how it can transform the way you work with your Raspberry Pi.
Troubleshooting common connection issues
If RealVNC Viewer can’t reach your Raspberry Pi, a few quick checks usually fix it:
- Check the basics: make sure your Pi is powered on, connected to the network, and that RealVNC Server is running.
- Confirm the IP address: if you’re using a Direct Connection, your Pi’s IP address may have changed — run hostname -I on the Pi to confirm it.
- Check your firewall: on the connecting computer, make sure your firewall isn’t blocking RealVNC Viewer, and that port 5900 is open if you’re connecting over the local network.
- Verify both devices are signed in: for cloud connections, both the Pi and the viewer need to be signed in to the same RealVNC account.
- Restart and retry: rebooting both the Raspberry Pi and your router clears most temporary network issues.
- On a Pi 4 or 5, check the display server: recent Raspberry Pi OS releases default to Wayland, which RealVNC Server doesn’t use. If VNC won’t start, run sudo raspi-config, go to Advanced Options > Wayland, and switch to X11.
FAQs on VNC for Raspberry Pi
Is RealVNC free for Raspberry Pi?
RealVNC Server is available to install on Raspberry Pi and it may come pre-installed on some versions of Raspberry Pi. You will need a RealVNC Connect subscription to use RealVNC on your Pi device. With our free Lite plan, you can license a maximum of 3 devices as long as they are personal devices and you aren’t using RealVNC for commercial purposes. If you want to make manually configured direct connections then a paid subscription is needed.
What port does VNC Raspberry Pi use?
The RealVNC Raspberry Pi port is 5900.
You should ensure that you open this port on all the middle devices to work the communication from your PC to the Raspberry Pi.
How do I secure my Raspberry Pi remotely?
There are several steps you can take to ensure that you’re remotely accessing your Raspberry Pi in a secure manner.
You should treat every connection as if it’s been made in a hostile environment and ensure that data is end-to-end encrypted. Make sure you also have control over what connections are made and by whom.
Multifactor authentication and device sign-in verification are other steps that are recommended for secure connections.
RealVNC Connect offers all of these security features and more. It provides vigorous security options and authentication tools, giving you complete control and complete peace of mind.
How do I access Raspberry Pi desktop remotely?
Once RealVNC Server is running on your Pi, you can open the full Raspberry Pi desktop from another machine using RealVNC Viewer. Install RealVNC Viewer on the computer or mobile device you want to connect from. It’s available for Windows, macOS, Linux, iOS, and Android. Then sign in to the same RealVNC account. Your Raspberry Pi appears in your device list, and selecting it opens its desktop (GUI) just as if you were sitting in front of it.
Can I use SSH to access my Raspberry Pi?
Yes. Alongside VNC, you can use SSH (Secure Shell) to reach your Raspberry Pi terminal remotely. SSH gives you command-line access rather than the full desktop, and it encrypts the data sent over the network so it’s hard for anyone to intercept. You enable SSH the same way you enable VNC: open Raspberry Pi Configuration, or run sudo raspi-config, then go to Interface Options and turn on SSH. You’ll still need your Pi’s IP address and login details to connect.
Can I access my Raspberry Pi from outside my local network?
Yes. With RealVNC Connect’s cloud connections, you can reach your Raspberry Pi over the internet from outside your local Wi-Fi network, without setting up port forwarding. Sign in to the same RealVNC account on both devices and the connection is brokered for you. If you’d rather keep all traffic on the same network, a Direct Connection over your local network is the alternative.
How do I enable VNC on Raspberry Pi?
You can enable VNC on a Raspberry Pi in two ways. On the desktop, open Raspberry Pi Configuration, select Interface Options, and enable VNC. From the terminal, run sudo raspi-config, choose Interface Options, select VNC, and confirm. Once VNC is enabled and RealVNC Server is running, your Raspberry Pi is ready to accept a remote connection.