
How to start screen sharing on a Mac
Before we check out Mac screen sharing with a VNC port, you need to know how to enable screen sharing on a Mac. These are the Mac screen-sharing settings that will get you up and running:
- Choose Apple menu > System Settings.
- Click on General in the sidebar.
- Click Sharing on the right—you might have to scroll down to do this. (If you see that Remote Management is turned on, make sure you turn it off (you can’t run it at the same time as Screen Sharing).
- Turn on Screen Sharing.
- Hit the Info button on the right.
Now you’ll have to choose who can share your screen. If you select All Users, any of your computer’s users can share your screen (apart from guest users and sharing-only users).
If you select Only These Users, screen sharing will be restricted to specific users (which you pick from Users & Groups, Network Users, or Network Groups).
To see more options for screen sharing on your Mac, click Computer Settings.
Mac screen sharing using RealVNC Connect
So, now we know how to allow screen sharing on Mac, it’s time to learn how to do it with RealVNC Connect. The remote access solution is made up of VNC Server v7 (or try our new unified app with RealVNC Connect v8), and RealVNC Viewer. You’ll need to install RealVNC Server on the Mac you’re controlling remotely, and RealVNC Viewer on the device you’re controlling it from.
We should point out that this latter device doesn’t have to be a Mac! Of course, it can be, but RealVNC Viewer also works on many other platforms. These include Windows, Android, and Linux, and any other systems on our complete list of supported OS versions.
For the next section, we’re going to look at RealVNC Connect for screen sharing between two Macs:
Install RealVNC Server on the Mac you’re controlling
Before you start screen sharing for Mac, you need to install RealVNC Server (which requires a license) on the machine you want to control.
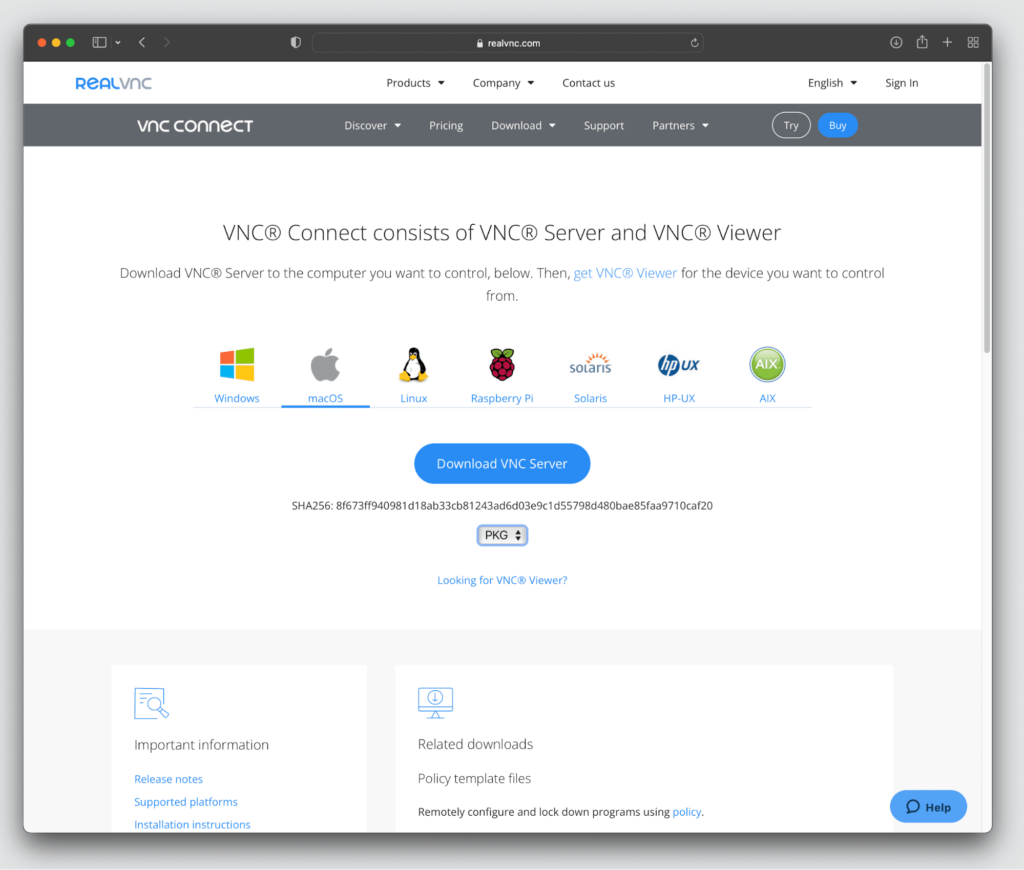
You can download RealVNC Server for macOS from our website.
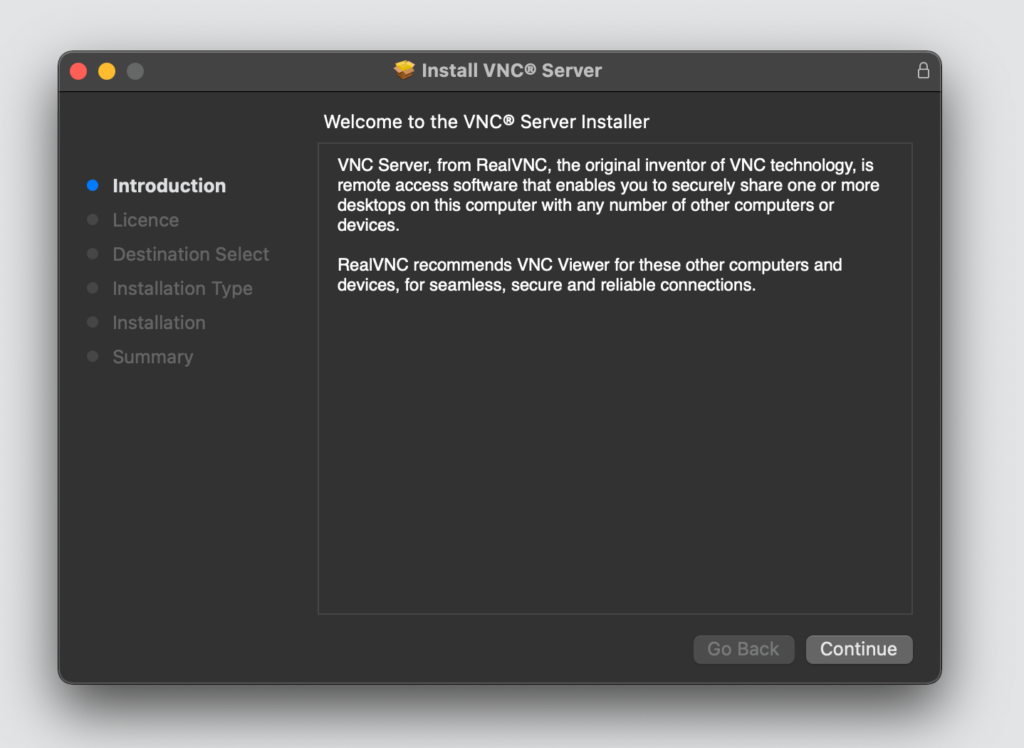
Follow the instructions to run the installer. Or, if you prefer installing via command line, the command is as follows:
installer -pkg <vnc-app>.pkg -target /
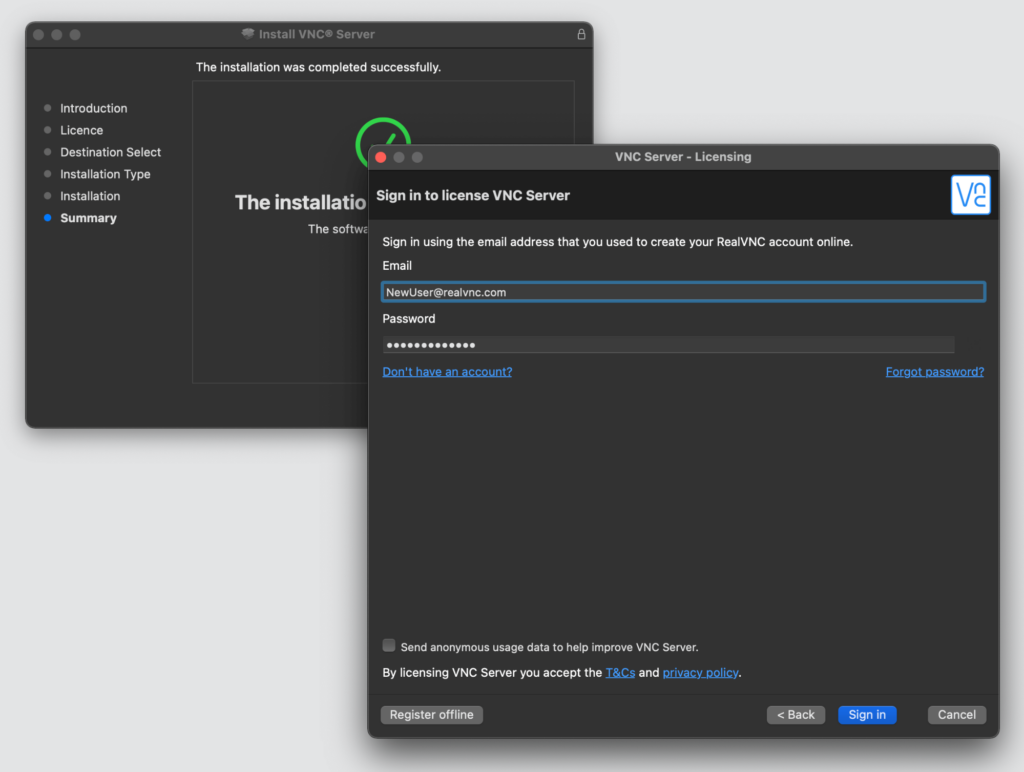
After installation, make sure you create an account here. If you don’t already have a license, you’ll need to buy one or start a trial. You’ll also have the option to set up two-factor authentication for extra security at this point.
To license the software, you simply need to right-click the icon in your system tray. Go to Licensing, and enter your account details. If you have an Enterprise subscription, you might want to license in bulk or remotely.
Next, you’ll need to install RealVNC Viewer on the machine you want to control your Mac from:
Install RealVNC Viewer on the device you’re controlling from
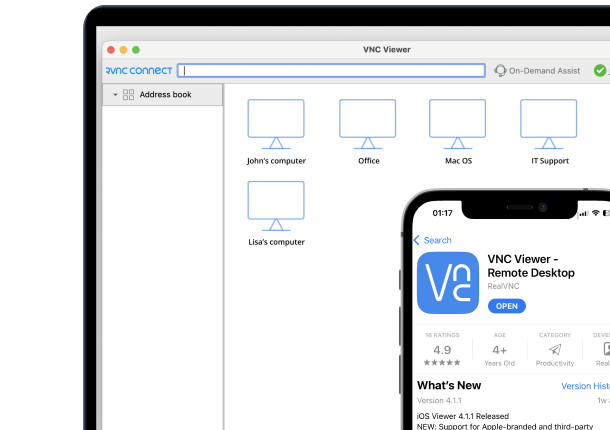
As mentioned above, you can control your Mac remotely from a multitude of devices, but here’s how to use RealVNC Viewer on a Mac.
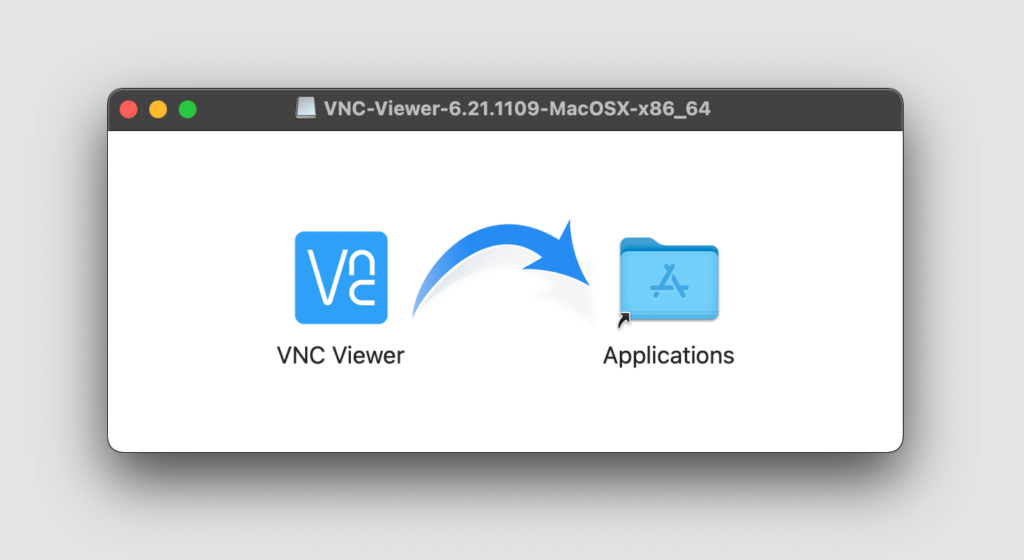
Installation is very simple. To start, download RealVNC Viewer for macOS:
Then, drag the disk image file into your Applications folder:
Next, sign in with your RealVNC account details. If you’ve set up multi-factor authentication, you will also need to type in a code from the respective app at this stage:
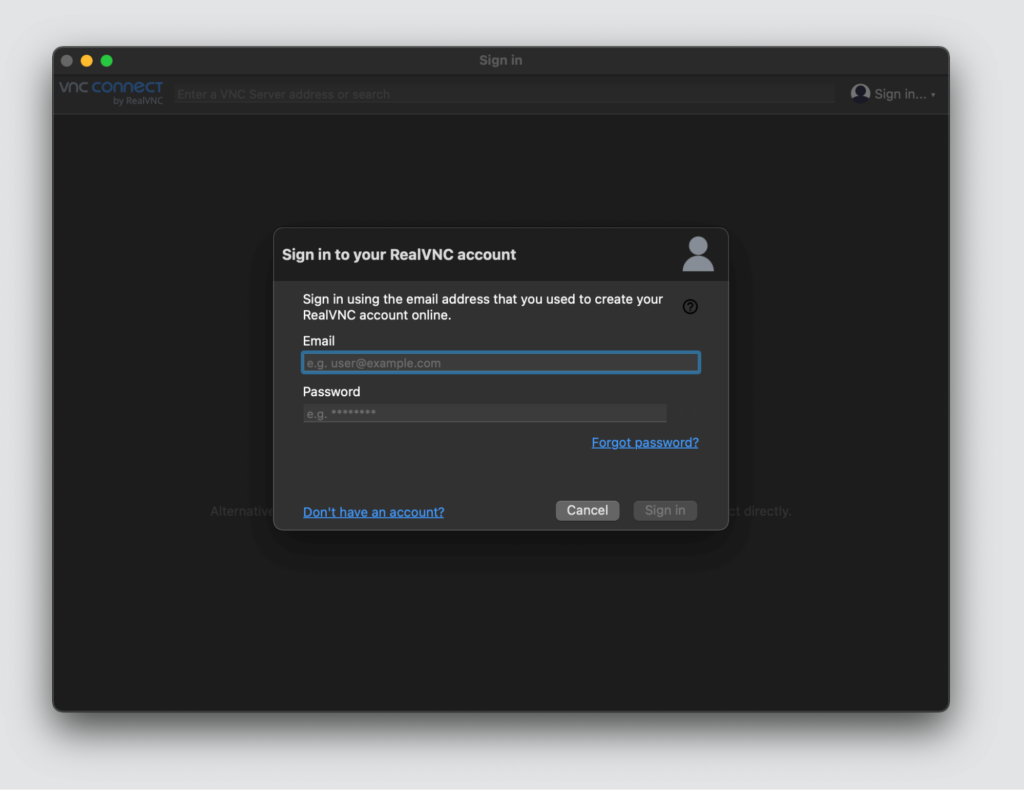
Once you’ve installed and licensed RealVNC Viewer, your Mac will show up in the software’s list of machines:
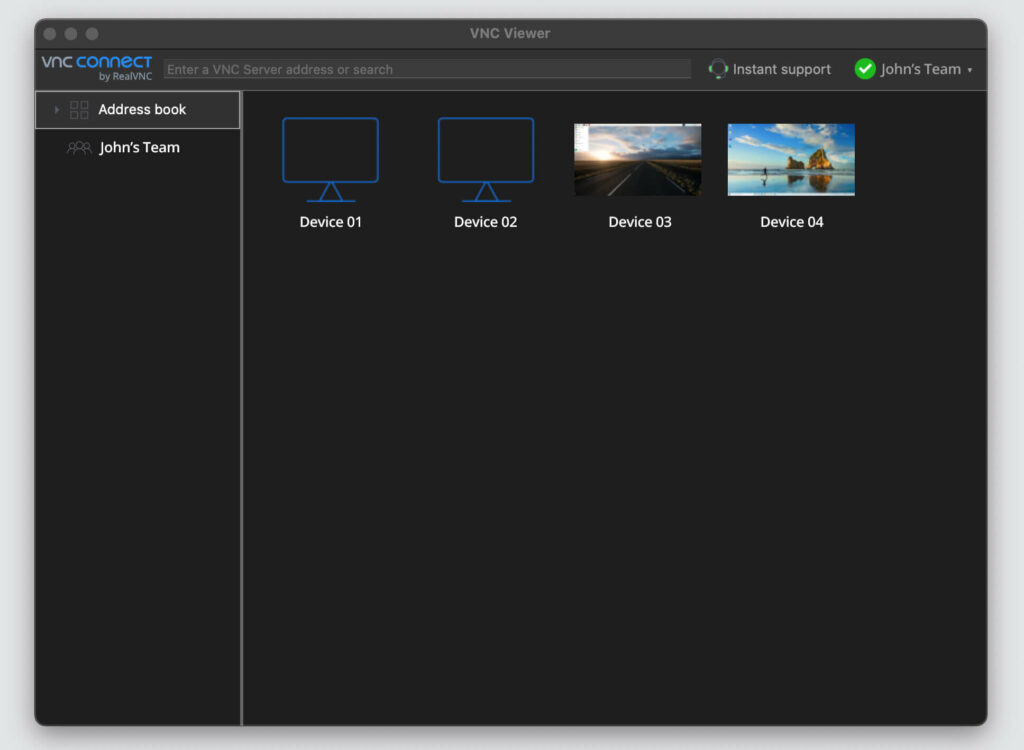
Simply double-click on your device, and you’ll be able to use it as if you were sitting in front of it!
Enabling screen sharing on Macs
If your organization runs a Mac fleet, RealVNC Connect can make remote access much easier. Whether you want to provide IT support or access corporate resources from your home office, it’s a fast, secure, and reliable solution.
As we’ve seen in this article, RealVNC screen sharing is very simple to do. It’s quick to download and install RealVNC Server and Viewer, and you’ll enjoy a responsive connection that feels like you’re in front of the remote computer.
As part of RealVNC’s multi-platform support, you can even perform Mac screen sharing on the go with the app for iOS and Android.
FAQs about Mac screen sharing
How do I turn on screen sharing on a Mac?
Go to the Apple menu on your Mac, and select System Settings. In the sidebar, click on General, and then select Sharing from the panel on the right. (You may need to scroll down to find it.)
Once you’ve switched Screen Sharing on, click the Info button on the right to control the authorized number of users.
How do I stop screen sharing on a Mac?
Turning screen share off is very similar to turning it on. Again, go to the Apple menu and find System Settings. Click on General in the sidebar and Sharing on the right.
Now you can just turn Screen Sharing off, and your session will end. It’s as simple as that!
Is it possible to Mac screen share with other operating systems?
RealVNC makes sharing a Mac screen with other operating systems – whether its a Windows, Linux, or Raspberry Pi computer, or simply an iOS or iPadOS device – as easy as sharing it with another Mac. Simply download the VNC Viewer software on the device you want to share your Mac device screen with and log in to your RealVNC account. You can now select your Mac remote desktop from your VNC Connect teams and access your Mac files and programs from anywhere in the world.
*this article’s content has been updated in August 2023