RealVNC® Connect supports HD audio output for the most immersive remote access experience yet.
Enjoy an immersive remote access experience
With HD VNC audio, connecting to a remote computer feels natural. You hear sound in real time, whether it’s music, video playback, or system alerts. If you have a paid subscription, simply connect through RealVNC Connect and enjoy clear, uninterrupted audio output alongside smooth visuals. It works wherever you are, on supported devices, so your remote sessions stay productive and frustration-free.
![]()
Excellent frame rate and responsiveness
Remote access works best when everything feels instant. With RealVNC Connect, video and audio stay in sync so you can work, watch, or listen without delay. The high frame rate keeps movement smooth, whether you are scrolling through documents or streaming media from a remote computer. Combined with clear HD audio output, your connection feels local, even if the remote machine is thousands of miles away.
Immersive sound experience
Clear audio changes the way you work remotely. Hear every detail from your remote computer in real time, from meeting conversations to media playback. Pair HD sound with smooth video and you get a remote access solution that feels natural and responsive. It’s designed to keep you focused, reduce frustration, and help you get more done from anywhere in the world.
![]()
Frequently asked questions
What can and can’t I do with remote audio?
Audio is available for paid subscription users and allows the user to play audio on the Server and hear it on the Viewer. Now, in addition to seeing what is displayed on the Viewer and controlling the remote computer as though you were sitting in front of it, you can also hear what is playing on its speakers.
Why isn’t my audio working?
The audio feature will only work when you’re using High-Speed-Streaming (RFB protocol version 6). If you are using direct connectivity via a router then you may need to add the appropriate port forwarding rules to allow UDP connections as well as TCP.
On Linux systems, the pulse audio sound system must be installed in order to use the remote audio feature. This should be present by default on most recent Ubuntu, RHEL and CentOS systems. Make sure you have the updated version of the Server and Viewer installed, and a paid subscription, and you should be good to go.
Why can’t I hear audio from my Mac, phone, tablet during an On-Demand Assist session?
Audio is not yet supported by VNC Server running on MacOS, during On-Demand Assist sessions, or when using VNC Viewer for Android and iOS.
Will I be able to mute the audio feature?
The audio feature is muted by default. This means you won’t startle anyone working from an office-based location when they connect to your home computer, or any similar situation.
Enabling audio is easy when you need it: click the Audio icon on the Viewer toolbar.
Make sure audio is supported by the connection and hasn’t been disabled on the Server. Go to the Users & Permissions page in the Server options to configure audio on a per-user bases or to disable the feature completely.
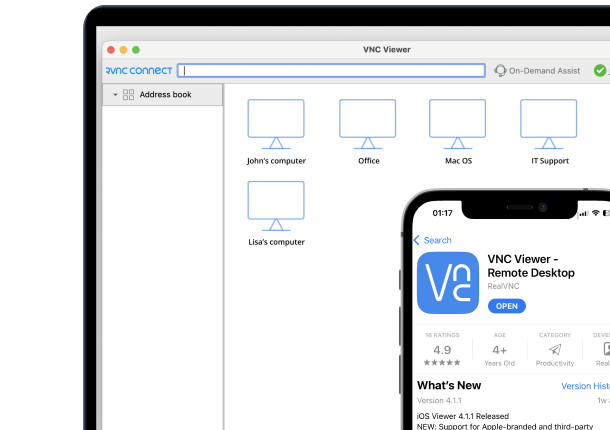
Do I need to install separate VNC Server and VNC Viewer apps?
For most devices, no. With Version 8, RealVNC Connect uses a single, unified desktop application that includes both VNC Server and VNC Viewer. This makes setup faster and management easier on supported devices. The only exception is if you want to connect to or from a mobile device. In those cases, you will still need to install the separate mobile apps to access a remote computer.
For more information on audio and to answer additional questions, view our FAQ page here.