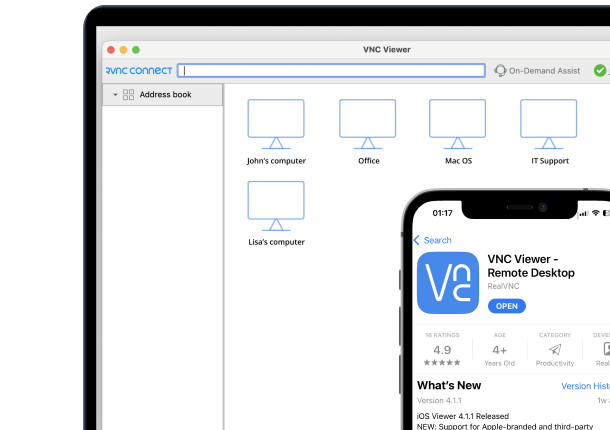




A Raspberry Pi is a convenient, low-power terminal for reaching a larger Linux machine elsewhere – a home server, a development box, or a workstation you’d rather not walk over to every time.
Why access a Linux computer from a Raspberry Pi
This suits setups where a Raspberry Pi acts as a lightweight desktop or kiosk but a more powerful Linux machine elsewhere still needs occasional attention. Because RealVNC Connect works the same way across platforms, the setup is nearly identical regardless of which Linux devices are on each end.
What you’ll need
- A Linux computer to control, either on the same network as your Raspberry Pi or reachable over the internet
- A Raspberry Pi running Raspberry Pi OS to connect from
- A RealVNC Connect account and licence – a free trial is available
- About 10 minutes to complete setup on both devices
Step 1: Set up RealVNC Server on your Linux computer
On the Linux computer you want to control:
- Download the RealVNC Connect setup app from the RealVNC website.
- Click Download for Linux.
- Extract the installer in your Downloads folder using your file manager, then run it by double-clicking the RealVNC Connect installer icon.
- Click Accept and Install, and follow the on-screen instructions. If prompted to disable Wayland, accept – this is needed for RealVNC Connect to function correctly.
- Once installation completes, choose Start my free trial if you’re new to RealVNC Connect, or Sign in to continue if you already have an account.
- Your browser will open automatically. Follow the on-screen prompts, then click Open to return to the RealVNC Connect Setup app.
- Review the settings shown, then click Launch. If you keep the default VNC Password, make a note of it – you’ll need it when you connect from another device.
Step 2: Install RealVNC Viewer on your Raspberry Pi
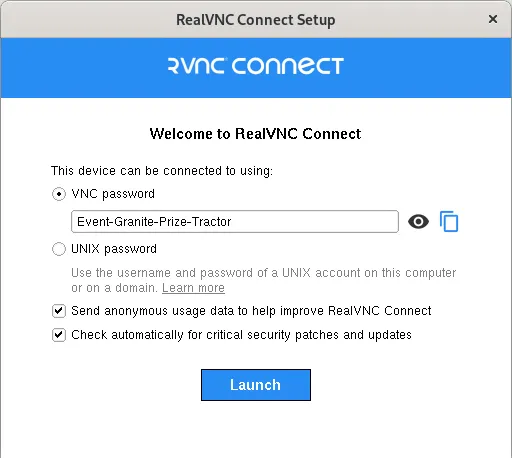
- On the Raspberry Pi, install RealVNC Viewer using the Recommended Software tool, or open a terminal and run: sudo apt install realvnc-vnc-viewer
- Open RealVNC Viewer from the applications menu and sign in using the same RealVNC account you used on the other device.
Your Linux computer will now appear automatically as a connection in RealVNC Viewer, listed under your team.
Step 3: Connect to your Linux computer for the first time
In RealVNC Viewer, double-click the Linux computer you want to connect to.
Verifying the connection with Identity Check
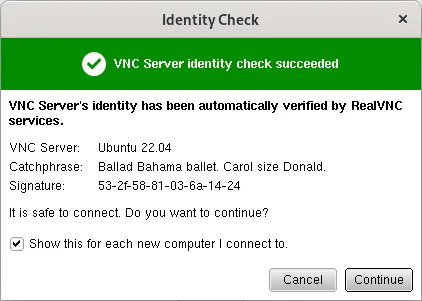
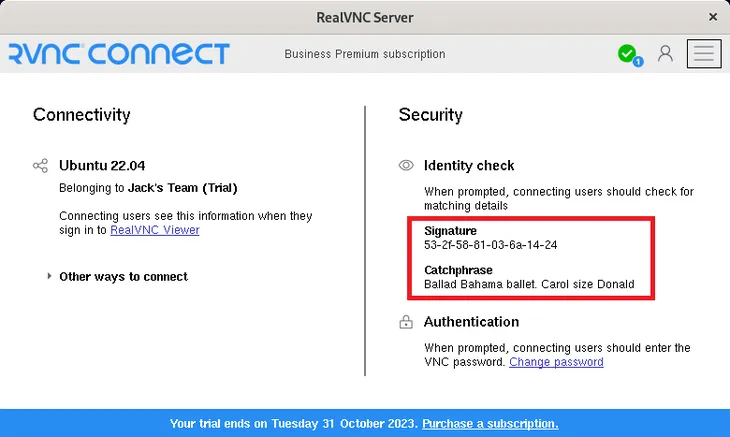
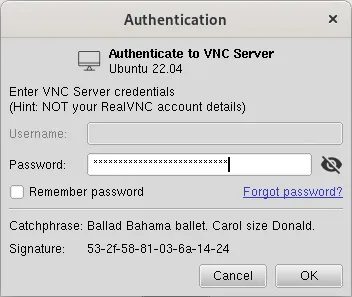
The first time you connect, RealVNC Viewer shows an Identity Check screen with a Catchphrase and Signature. Compare these against the values shown in RealVNC Server on the remote computer to confirm you’re connecting to the right machine. RealVNC Viewer remembers this identity and will warn you if it ever changes on future connections.
Authenticating
Enter the VNC Password you noted during setup. If you chose Unix Password authentication instead, use the username and password of an account on the Linux computer.
Troubleshooting common issues
- Linux computer doesn’t appear in RealVNC Viewer: confirm both devices are signed in to the same RealVNC Connect account and team.
- Can’t authenticate: verify you’re using the VNC Password noted at setup, or valid Unix account credentials.
- RealVNC Connect won’t install on Linux: make sure Wayland is disabled when prompted during installation – RealVNC Connect currently requires an X11 session.
Keeping your connection secure
RealVNC Connect encrypts cloud connections end-to-end, and every new connection is verified using the Identity Check described above. For extra protection, turn on two-factor authentication on your RealVNC account and use session permissions to control exactly who can view or control the Linux computer.
Start controlling your Linux computer from Raspberry Pi with RealVNC Connect
RealVNC Connect offers a free trial with no credit card required, so you can test remote access between your Raspberry Pi and Linux computer before subscribing.
FAQs
Can I access a Linux computer from a Raspberry Pi?
Yes. Install RealVNC Server on the Linux computer and RealVNC Viewer on the Raspberry Pi, then connect using your RealVNC Connect account or a VNC Password.
Does the Linux computer need to be switched on?
Yes – it needs to be powered on and logged in to a graphical desktop session, with RealVNC Server running.
Do I need a static IP address to connect?
No. A cloud connection through your RealVNC Connect account works over the internet without any router or firewall configuration.
Can I use RealVNC Viewer directly on the Raspberry Pi desktop?
Yes. RealVNC Viewer runs as a normal graphical application on Raspberry Pi OS, alongside your other desktop software.