
Picture a hybrid employee stuck at home with a frozen update on their Mac while a busy admin tries to talk them through fixes over the phone. At some point, the admin understands that remote assistance, Mac to Mac, will be more productive than simply guessing which icon the user is describing.
macOS screen sharing and Apple Remote Desktop are helpful in some environments, yet they can feel limited for internet sessions, central remote management, and security controls. They also assume a level of technical knowledge that family tech support and smaller teams don’t always have.
RealVNC has spent over 25 years developing remote access and remote desktop technology. With RealVNC Connect, you get a unified app for Mac remote access across Apple devices and a cross-platform remote desktop connection that can be ready in under 10 minutes.
This guide walks you through the installation, remote desktop connection steps, and practical troubleshooting, so you can support Macs with confidence.
What You Need to Get Started
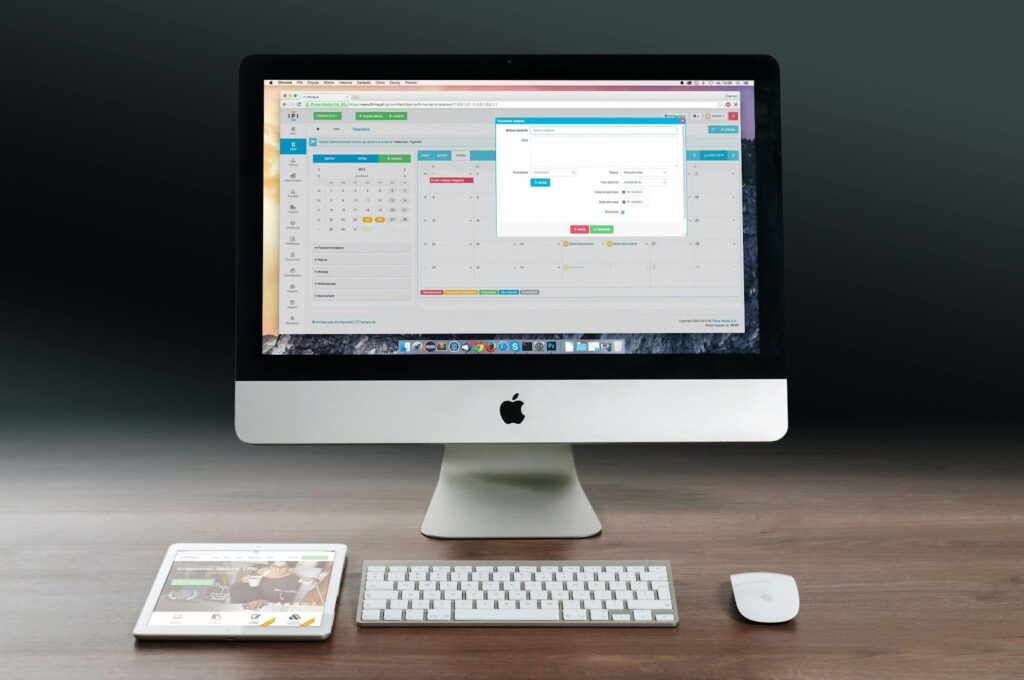
Image: Pexels| iMac and iPad on a desk
For Mac remote access, you don’t need a lab full of hardware. You need two Macs running Mojave (10.14) or later, an administrator account, a steady internet connection, and a RealVNC account with a 14-day trial. TheRealVNC Connect unified app supports multiplatform capabilities that go beyond just Mac. In this case it acts as a single client that you install on each device and then sign in with the same user name.
Installing RealVNC on Both Macs
Once you have your remote Mac and Control Mac ready, the easiest path is the unified RealVNC Connect app. The same installer runs on both machines, and that keeps remote management simple.
On the remote computer, it behaves like the server. On the Control Mac, it acts as your remote desktop client. The flow is almost identical on each side, so you learn it once and reuse it, and both machines can reverse roles if needed.
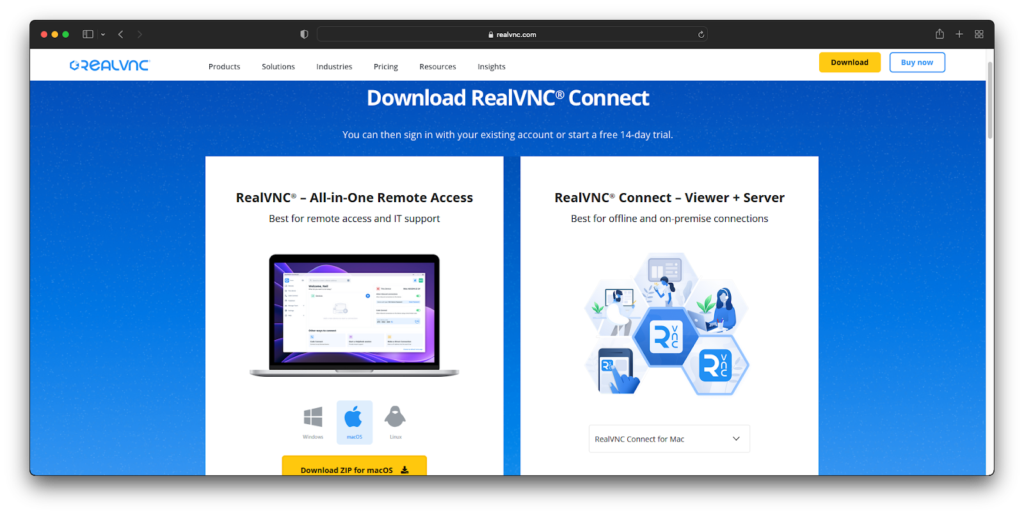
- On each Mac, download the unified app from RealVNC. Select macOS as the operating system.
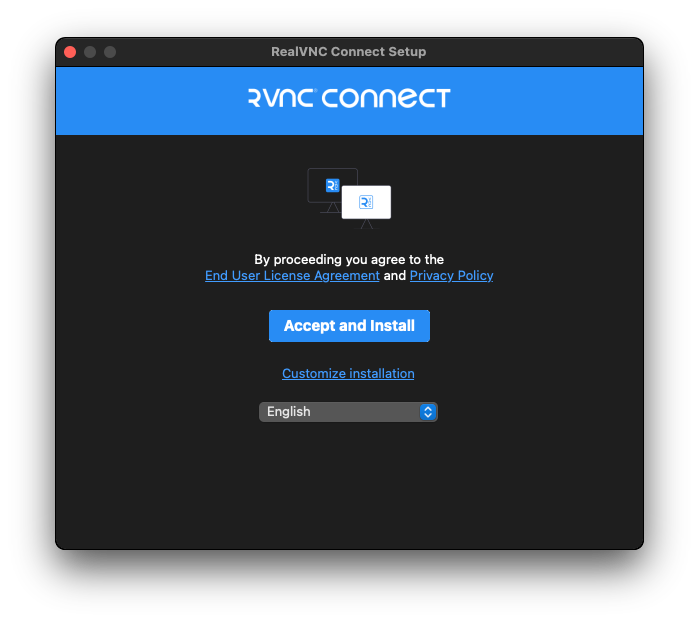
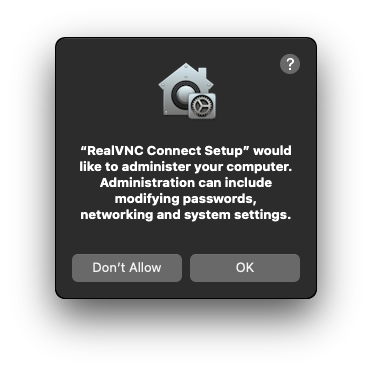
- Once downloaded, run the installer, click Accept and Install, and follow the prompts to install. If you see a prompt that asks you for administrator access in macOS settings for the installer, click OK and continue.
- During the installation, you will also be prompted to open system settings or system preferences:
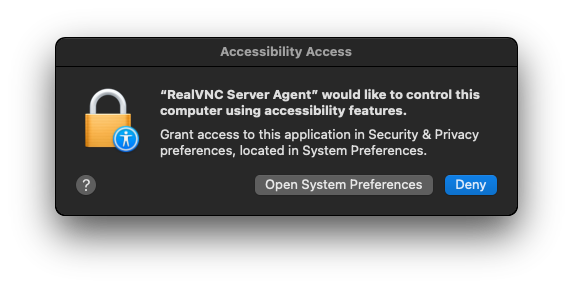
- In Privacy and Security, set Screen Recording and Accessibility for the RealVNC Server Agent so the screen is visible, and you gain full remote control instead of view-only.
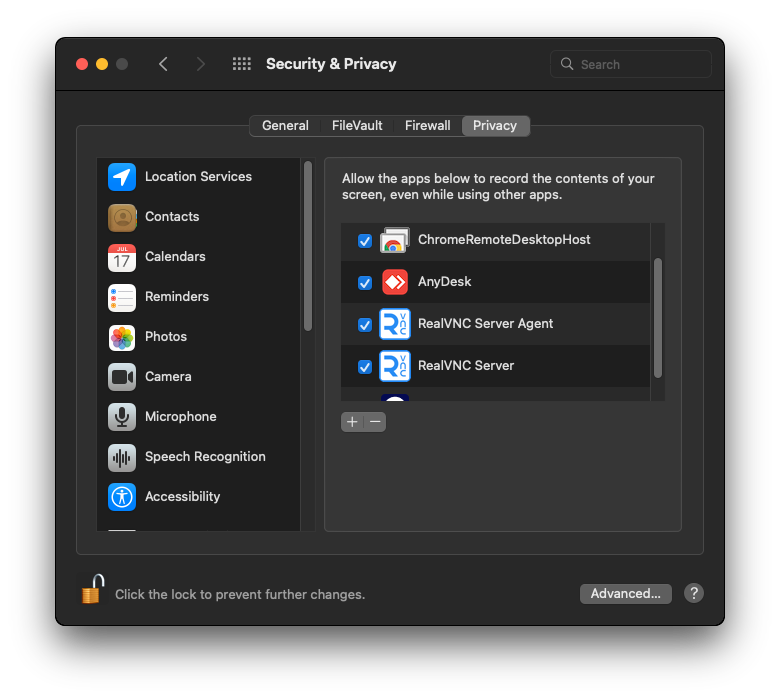
- Grant full disk access to RealVNC if you plan to work with local disk access and files during remote access sessions.
- Sign in or create a RealVNC account with your user name and password. The trial license will activate automatically.
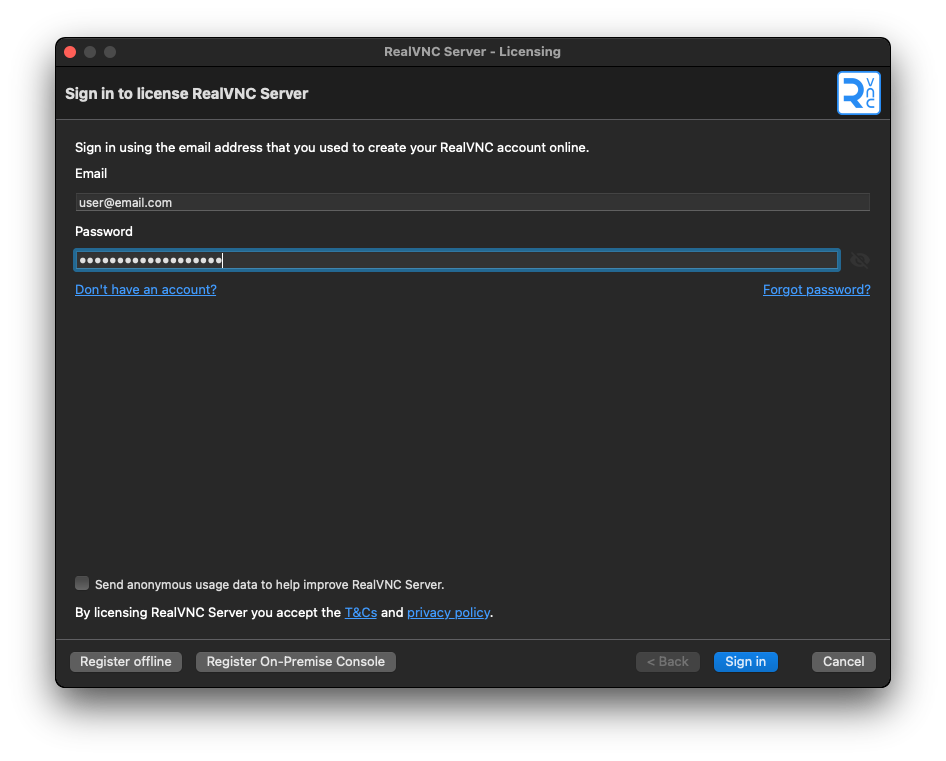
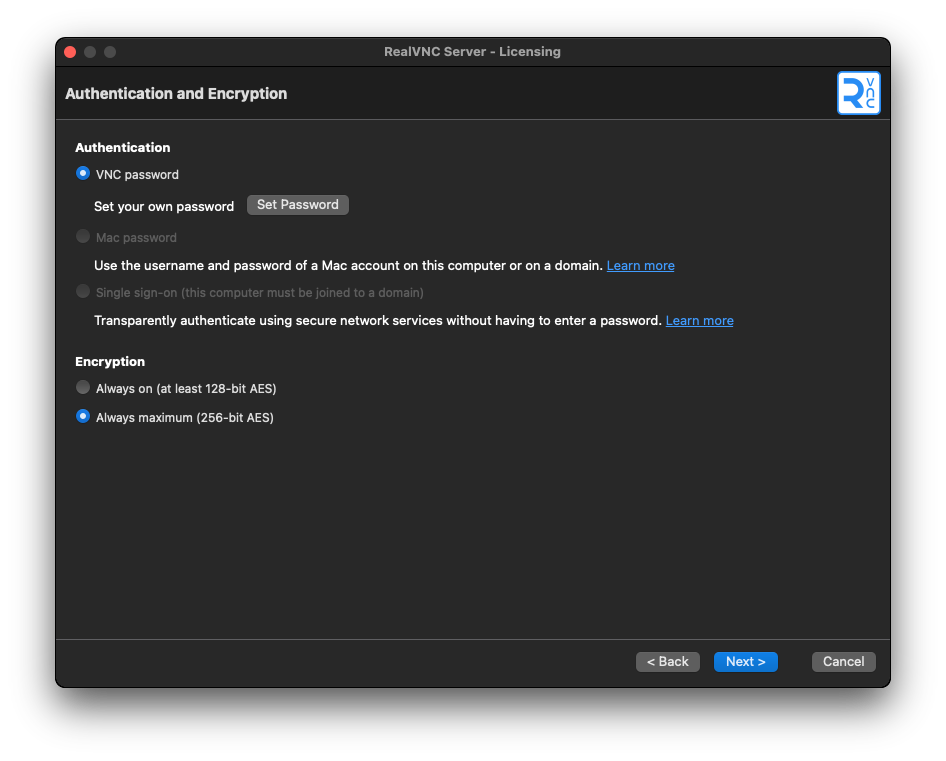
- Now, you’ll need to set an authentication password for the remote Mac. Choose a VNC Password, and then set your password via the Set Password button. Set your preferred encryption level (Maximum recommended).
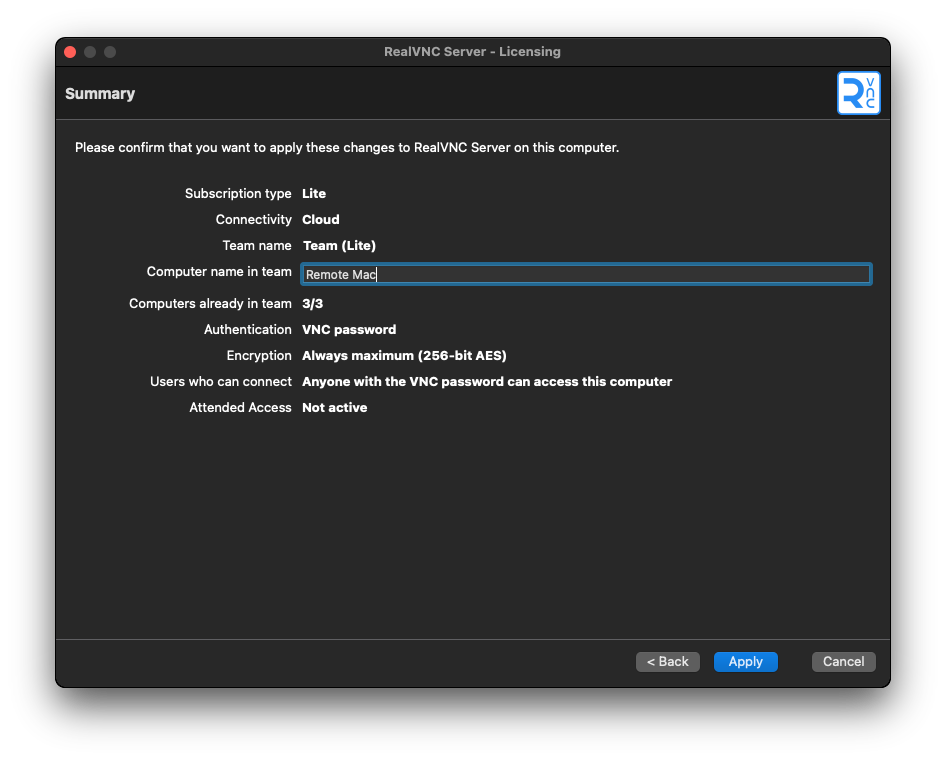
- Finally, name the Mac something that distinguishes it inside your team or personal account, such as “Remote Mac,” and click Apply.
At this point, both remote and control Mas are ready for remote access. The only difference is that the remote Mac will host the session, and the Control Mac will access your Mac and control it remotely.
If you need to remotely access your Mac from a Windows or Linux device, you can use the same unified client and account. After you configure this flow once, the connection pattern feels familiar on every platform.
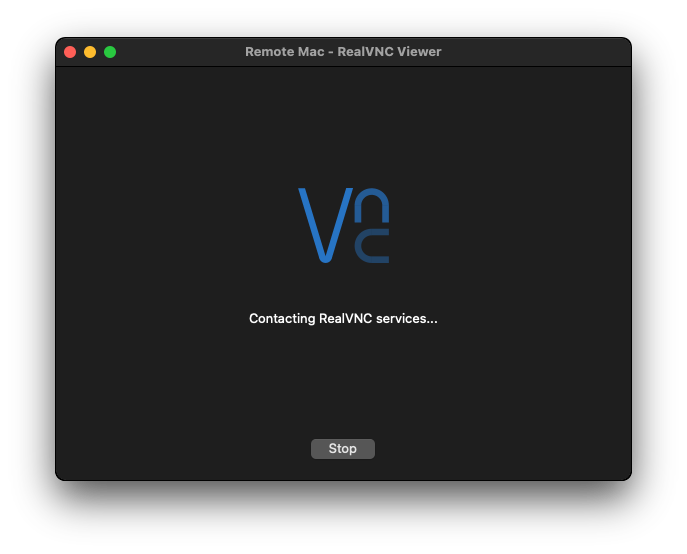
Connecting to Your Remote Mac Desktop
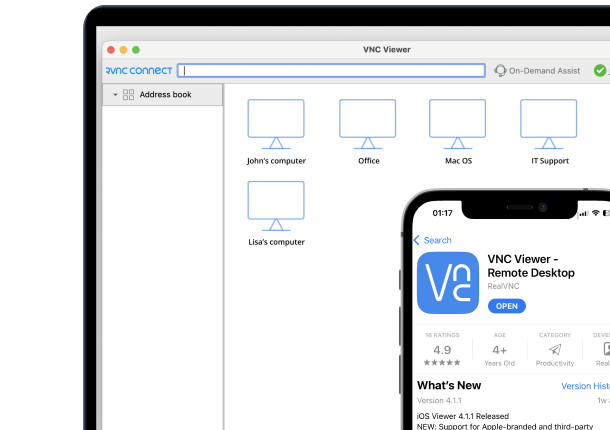
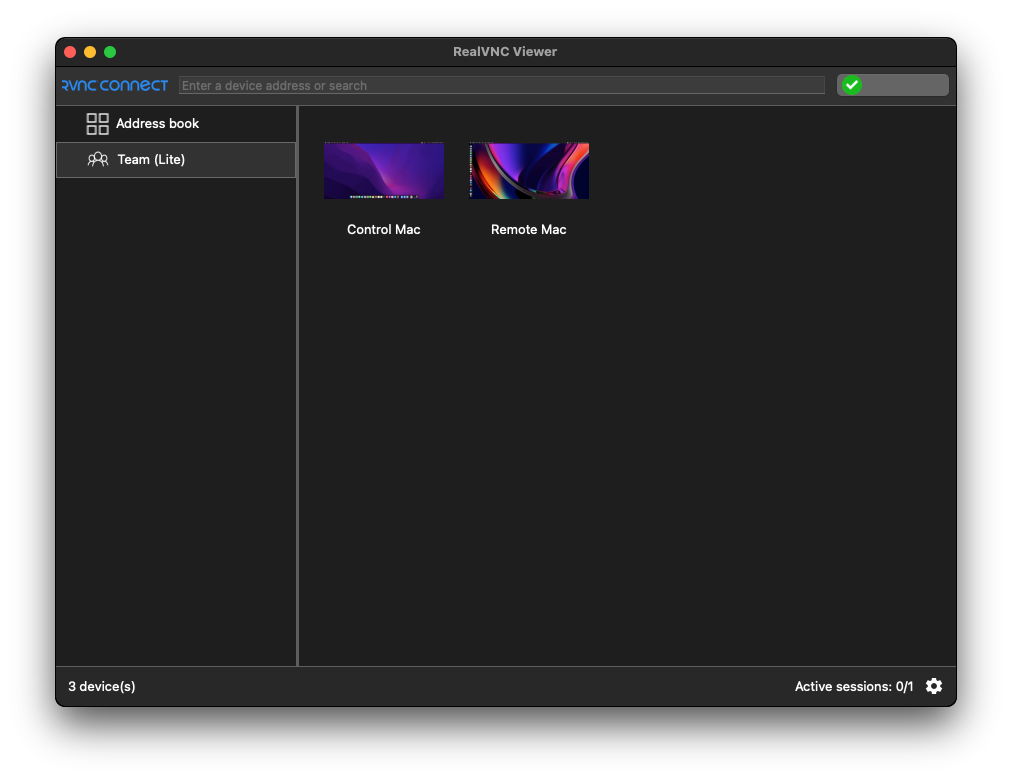
Once both Macs are signed in to the same RealVNC account, Remote Mac appears automatically in the unified app on Control Mac as a remote computer entry. The unified client behaves as your remote desktop client, so you simply pick the machine you want and start a remote desktop session instead of hunting for IPs in a spreadsheet.
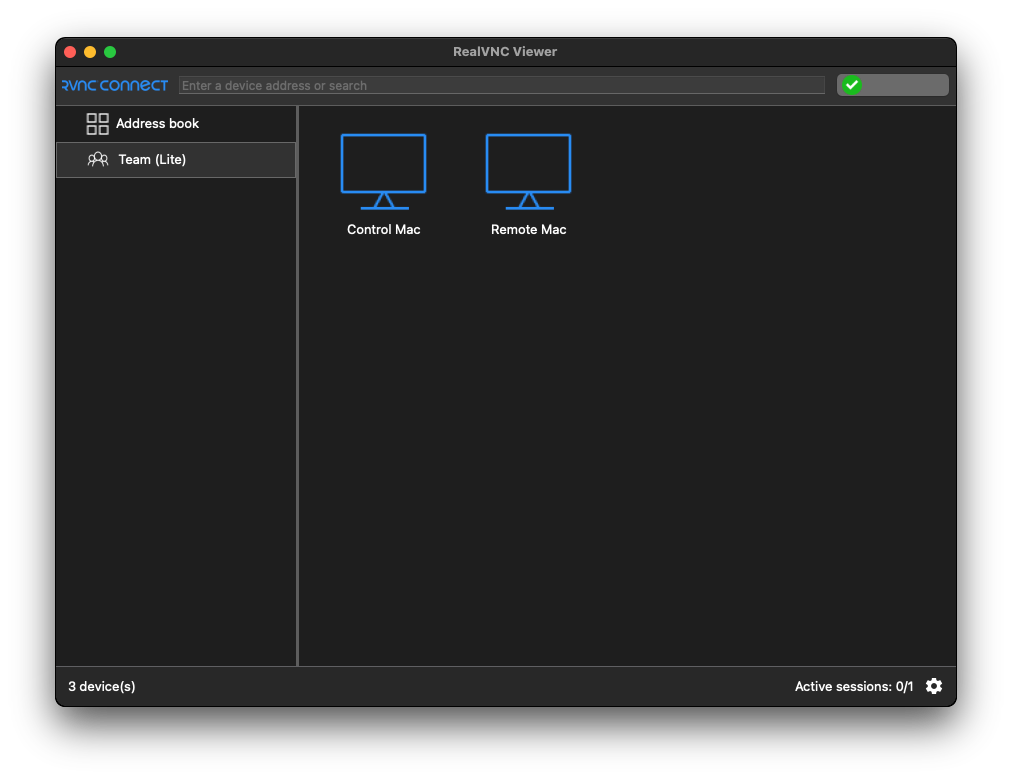
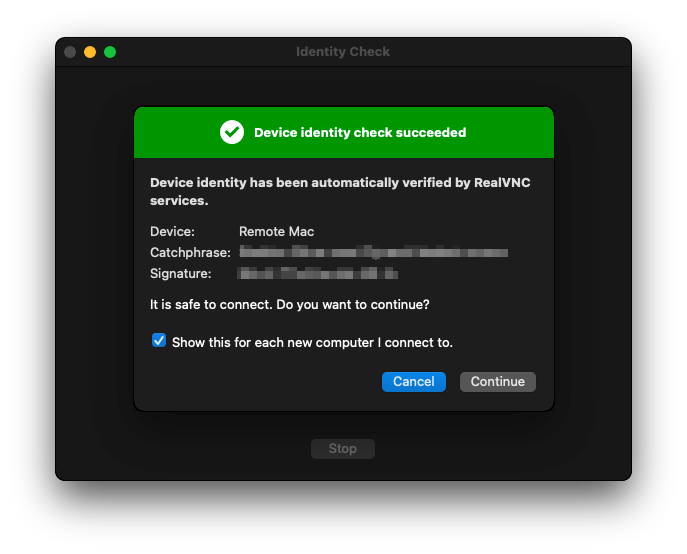
Double-click Remote Mac in the list to begin the first remote desktop connection. RealVNC shows an Identity Check window that displays a catchphrase and signature.
You can compare these with the values on Remote Mac and confirm you’re looking at the right hostname, IP address, and location. It’s a small step that delivers secure remote access rather than guessing which Mac you just opened.
Next comes authentication. If you selected a VNC password during setup, enter it and press Return. If you chose Mac credentials, use the username and user account password from the Remote Mac and confirm.
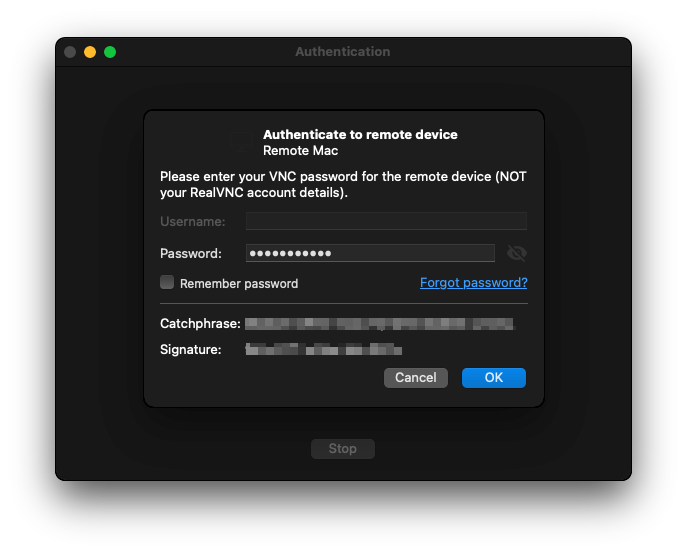
Once the login is successful, you’ll see the full screen and can start remote control and screen sharing.
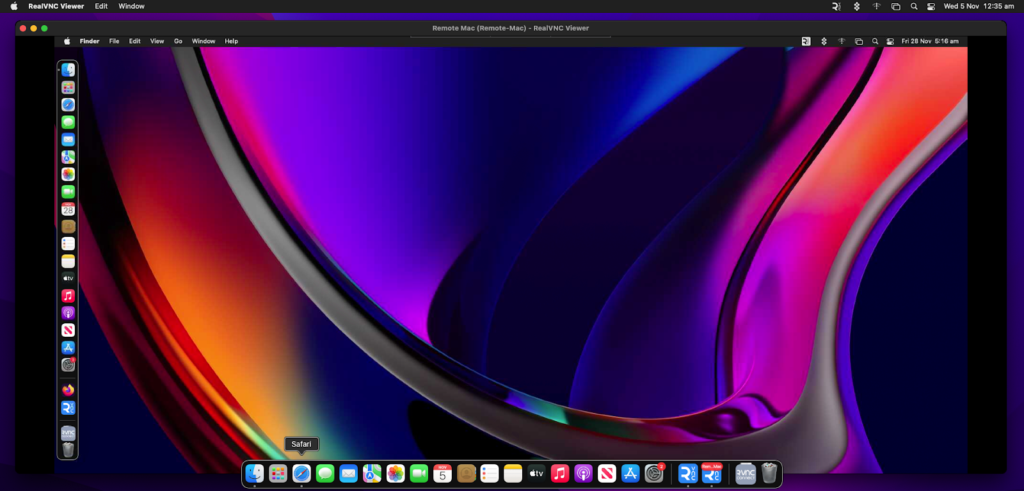
Future remote connections are faster because RealVNC stores the device identity and connection details. Daily remote access and accessing your Mac workflows become a few clicks, which means less friction for both admins and support teams who need to access and work on Macs remotely.
Key Features for Mac Remote Assistance and File Sharing
Once you have a session running, the real value comes from the tools built around remote access. RealVNC Connect gives you the kind of control that makes a remote Mac feel very close to a local one.
- You get built-in file sharing, so transferring files between Macs happens directly in the session. Large files move over an encrypted channel instead of bouncing through third-party sharing tools.
- Remote printing lets you print a document from the remote computer straight to a printer on your desk, which keeps work moving even when you use your Mac from another office.
- Integrated chat keeps users and support staff in the same window, making it easy to give quick instructions during remote control and screen sharing.
- Session recording supports training, handover, and compliance reviews, especially for teams that handle sensitive data.
- Under the hood, security features like end-to-end encryption help keep sessions secure, while central remote management features help admins manage multiple remote users and devices through one account.
- Cross-platform support means the same client can control a Mac from a Windows computer, Linux, and mobile platforms like iOS and Android, avoiding the gaps you often see with Apple Remote Desktop or Microsoft Remote Desktop client and giving teams a near-seamless experience across their fleet.
Troubleshooting Common Issues
Even well-configured remote access setups occasionally misbehave, and Macs are no exception. The checks below group common symptoms with practical fixes so you can get Remote Mac sessions working again quickly.
Common Issue 1: Blank or Black Screen
You connect and only see a black screen. On the remote Mac, open macOS privacy settings and set Screen Recording for vncagent. Without that, screen sharing sends no image from the remote computer.
Common Issue 2: View-Only Access
Pointer moves on your side, but nothing happens on the remote Mac. In the same panel, enable Accessibility for vncagent and grant full disk access if deeper disk access is required. That enabling step unlocks full access during the session.
Common Issue 3: Remote Mac Not Appearing
The host never shows in the list. Confirm both Macs are signed into the same RealVNC account, the network is online, and the app runs on Remote Mac. No app, no connection.
Common Issue 4: Access Denied
RealVNC asks for credentials and then rejects them. Check that the user account on the remote Mac is an administrator and that the username and password are correct.
For stubborn cases, RealVNC’s troubleshooting section provides deeper guidance.
Alternative: On-Demand Assist for Quick Support
Sometimes you just need to fix a problem once and move on. On-Demand Assist gives you temporary remote access to a remote Mac without a full install, ideal for quick remote assistance, Mac to Mac. The technician generates a short-lived code in the portal and shares a link to www.realvnc.help.
Here, the end user can download a disposable app and enter the 9-digit code. They can then grant permissions within macOS system settings so that the connection is secure.
For the end user, there’s no need to have a RealVNC account, yet they still get the same remote access features, like chat and the ability for a technician to control their Mac remotely.
Mac Remote Access for Modern Support Teams
RealVNC Connect gives you secure and feature-rich remote access for Mac-to-Mac sessions, plus broader remote management of other Apple devices in your fleet.
With RealVNC Connect’s unified app, day-to-day remote desktop work becomes routine, allowing you to remotely access Mac computers from another Mac, Windows, and Linux systems.
Teams gain faster remote troubleshooting, fewer site visits, and smoother support for hybrid work. You can try RealVNC Connect on your Mac today with a 14-day trial to see how remote access for Mac with RealVNC just works.
Frequently Asked Questions
Can I use Mac’s built-in screen sharing instead of RealVNC?
macOS screen sharing and Apple Remote Desktop work on a LAN, but RealVNC Connect adds internet-ready remote access, stronger security, file sharing, cross-platform support, and central remote management.
Does Mac-to-Mac remote assistance work over the internet?
Yes. RealVNC Connect creates cloud brokered remote access so you can access your Mac over the internet or local network without manual port forwarding or VPN configuration.
Can I control multiple Macs from one Viewer?
Yes. All enrolled Macs appear as remote computer entries in the unified remote desktop client, so you switch between systems and support different remote users from one place.
What happens if the remote Mac restarts during a session?
The connection closes while the Remote Mac reboots. Once the device is online again, RealVNC Server is ready, and you simply reconnect and continue working on the Mac remotely.