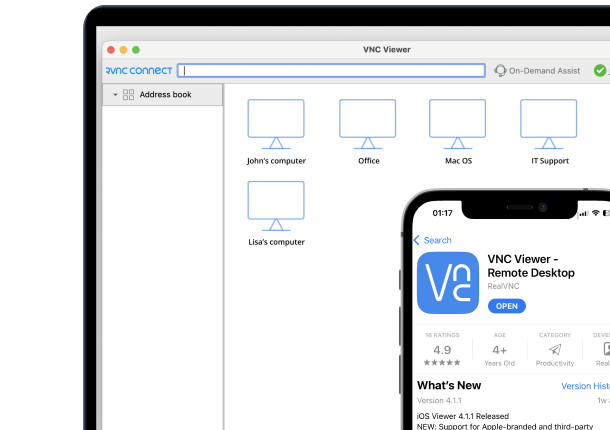

Mac screen sharing is easy to do with RealVNC Connect. It’s just a question of going through a few simple setup steps. As soon as you have the necessary software installed and the correct screen sharing settings configured, you’ll be able to access and control your Mac desktop from anywhere, including from the same network, as if you were in front of it.
Whether you’re working from home, offering tech support, or accessing files on the go, RealVNC Connect makes that process quick and easy. It’s secure, reliable, and guarantees a seamless user experience for a variety of use cases. Let’s find out how to screen share on Mac computers.
First, enable screen sharing in macOS
Before we begin screen sharing on a Mac using RealVNC Connect, you need to know how to enable screen sharing on a Mac desktop. This step is crucial because RealVNC Connect relies on macOS screen sharing capabilities to start a remote screen sharing session.
Follow these steps to get up and running with Mac screen sharing:
Open the Apple menu and select System Settings.
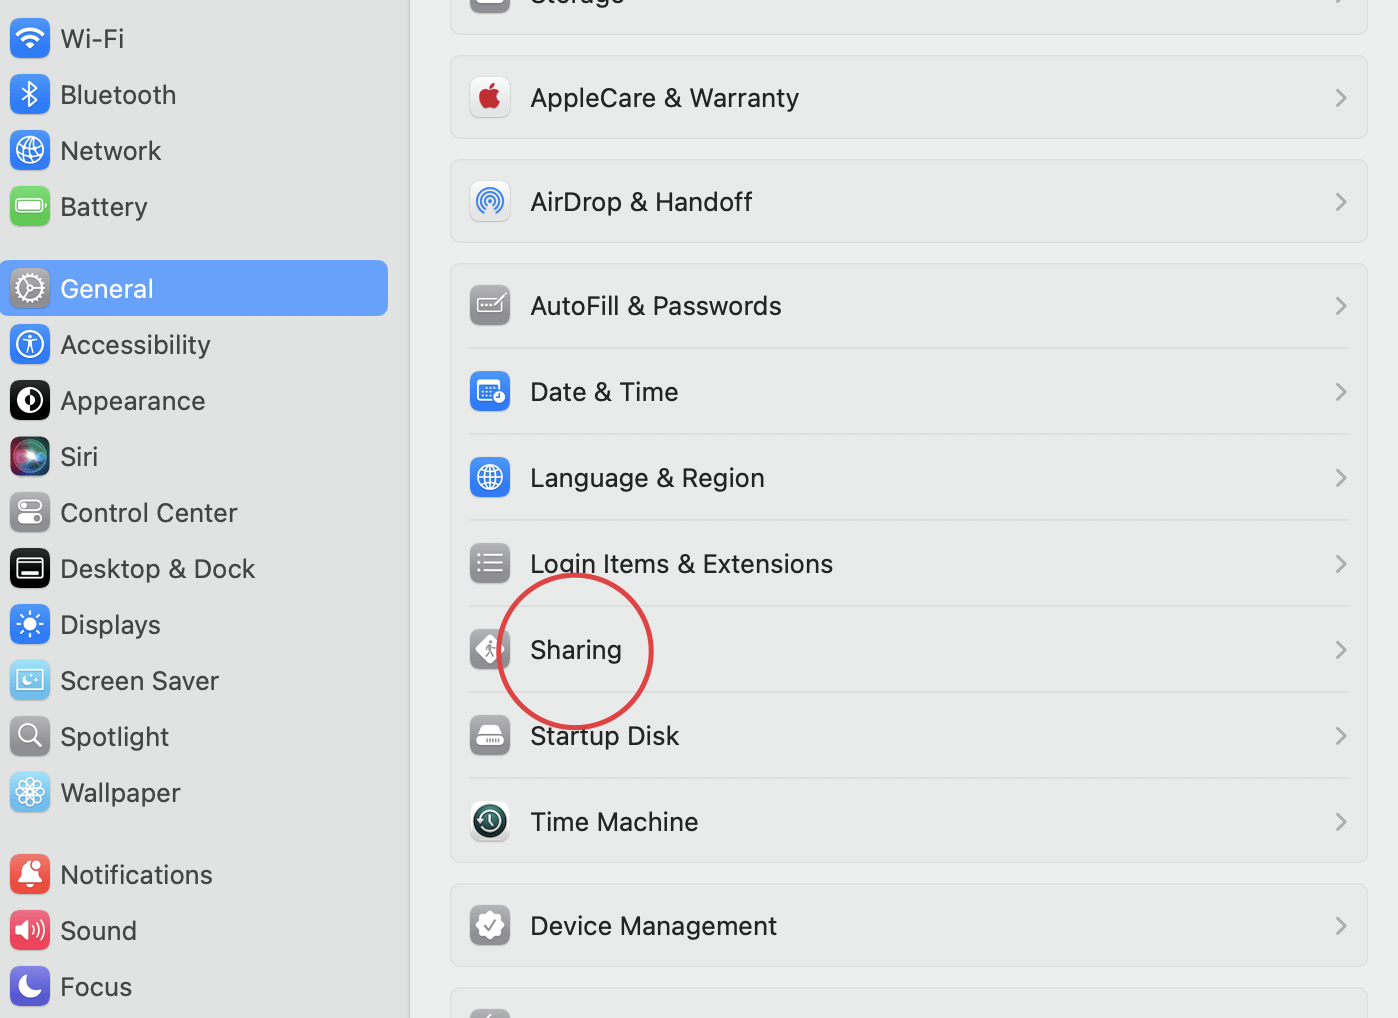
Click on the General option in the sidebar.

Click Sharing on the right (you might have to scroll down to do this). If you see that Remote Management is turned on, make sure you turn it off as you can’t run it at the same time as Screen Sharing.
Click the toggle to enable Screen Sharing.
Select the Info icon on the right.
Now you’ll have to choose who can share your entire screen. If you select All Users, any of your computer’s users can share your screen (apart from guest users and sharing-only users).
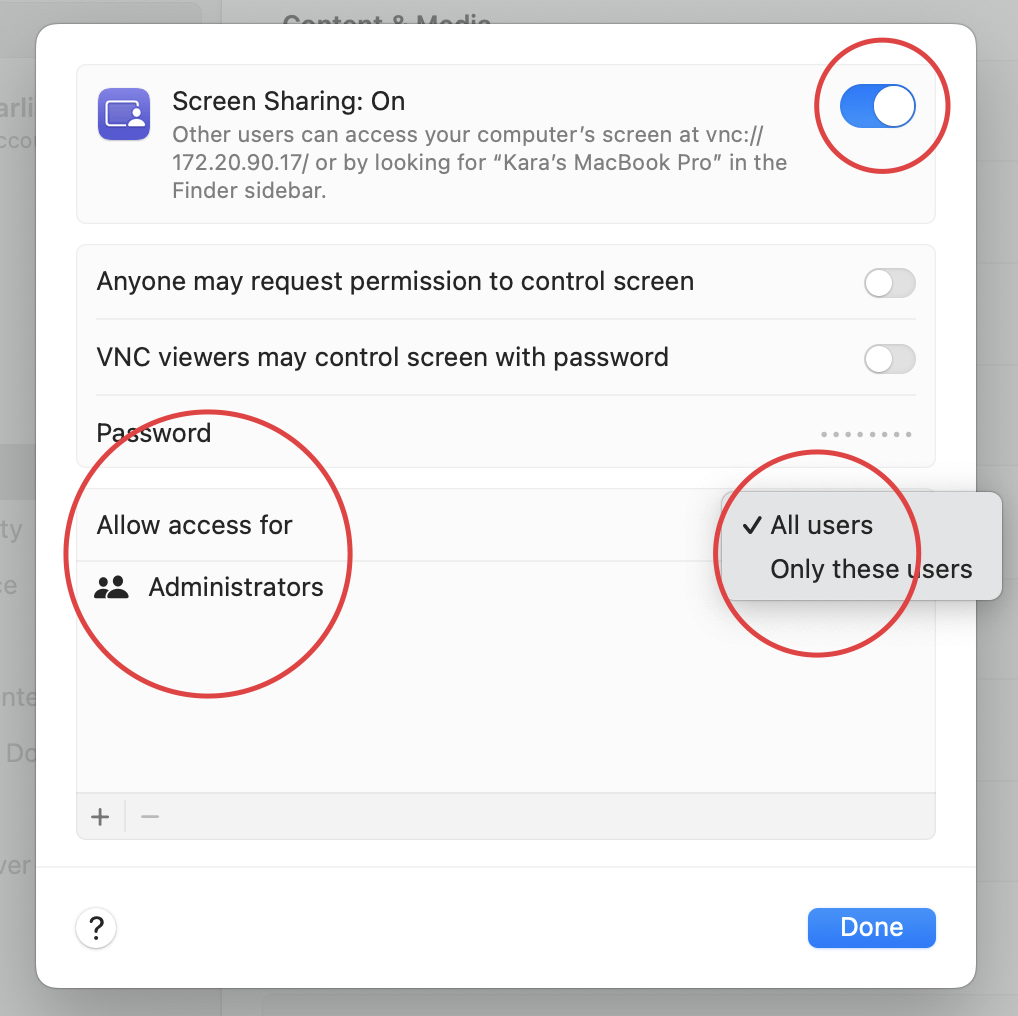
If you select Only These Users, screen sharing will be restricted to specific users (which you pick from Users & Groups, Network Users, or Network Groups).
How to screen share on a Mac using RealVNC Connect
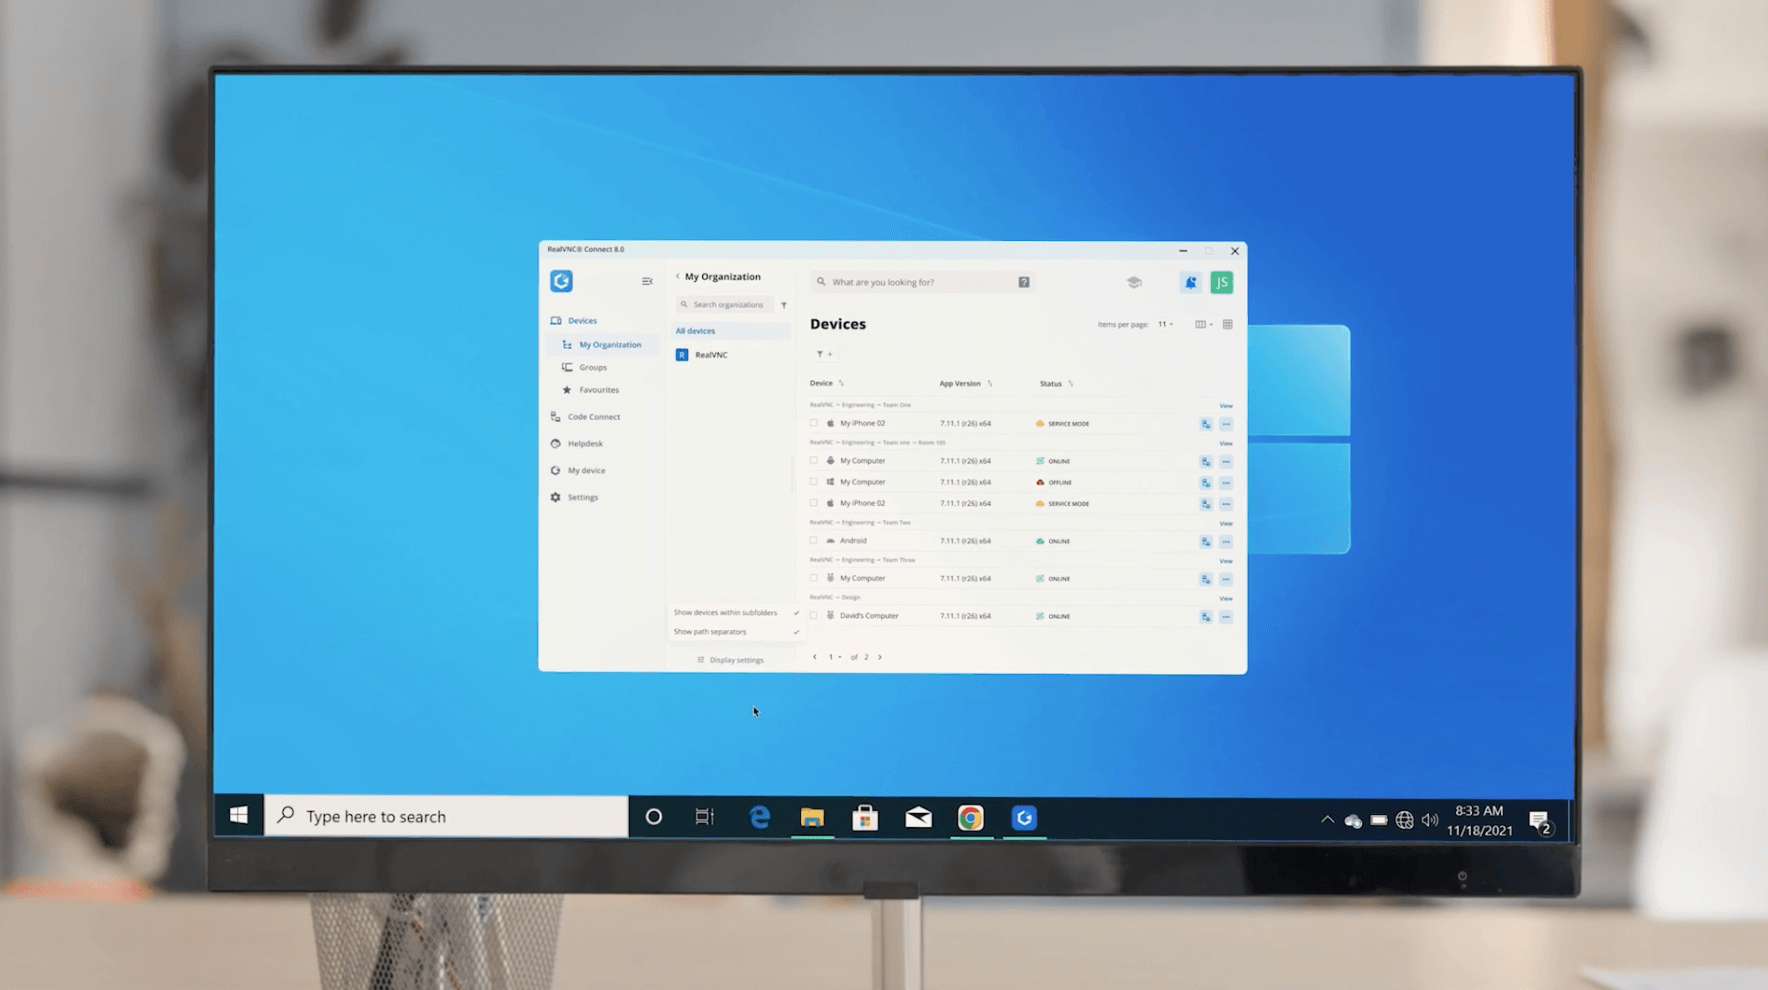
Previously, screen sharing with RealVNC Connect required installing both RealVNC Server and RealVNC Viewer as separate applications. With the release of Version 8, RealVNC introduced a unified screen sharing app that combines both components into a single, lightweight installation. This makes setup and usage even easier while ensuring high performance .
Follow these steps to get started:
1. Install the RealVNC Connect v8 application
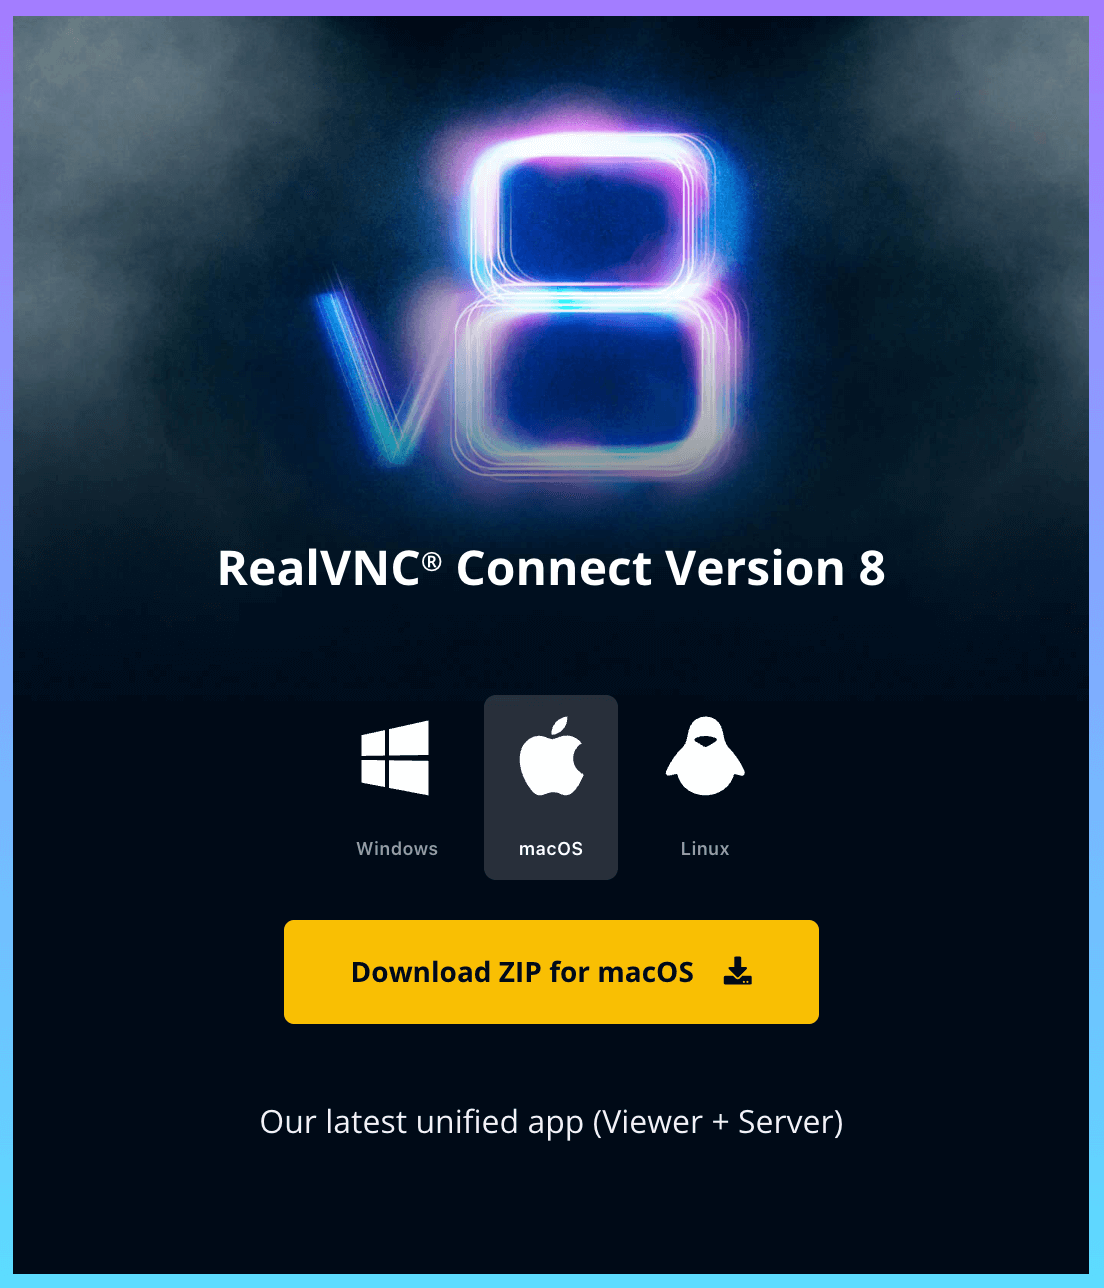
First, download the the app for macOS from the RealVNC website.
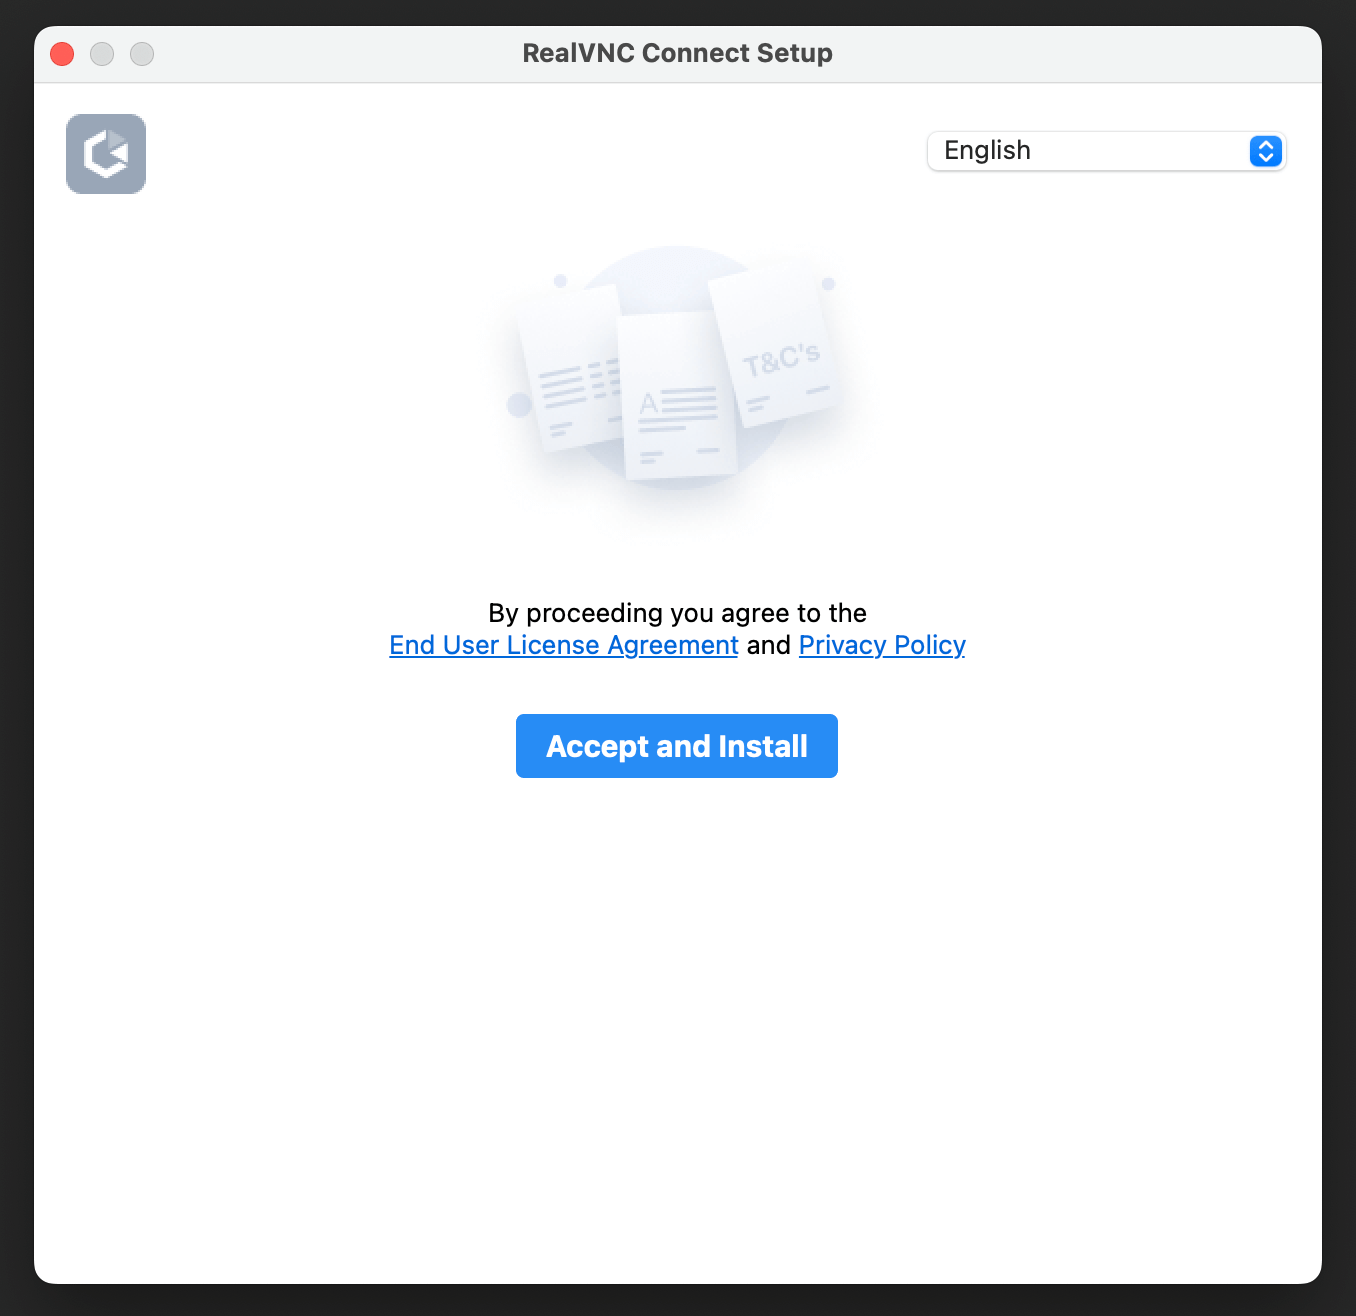
Once the download is complete open the Installer app and click the Accept and Install button.
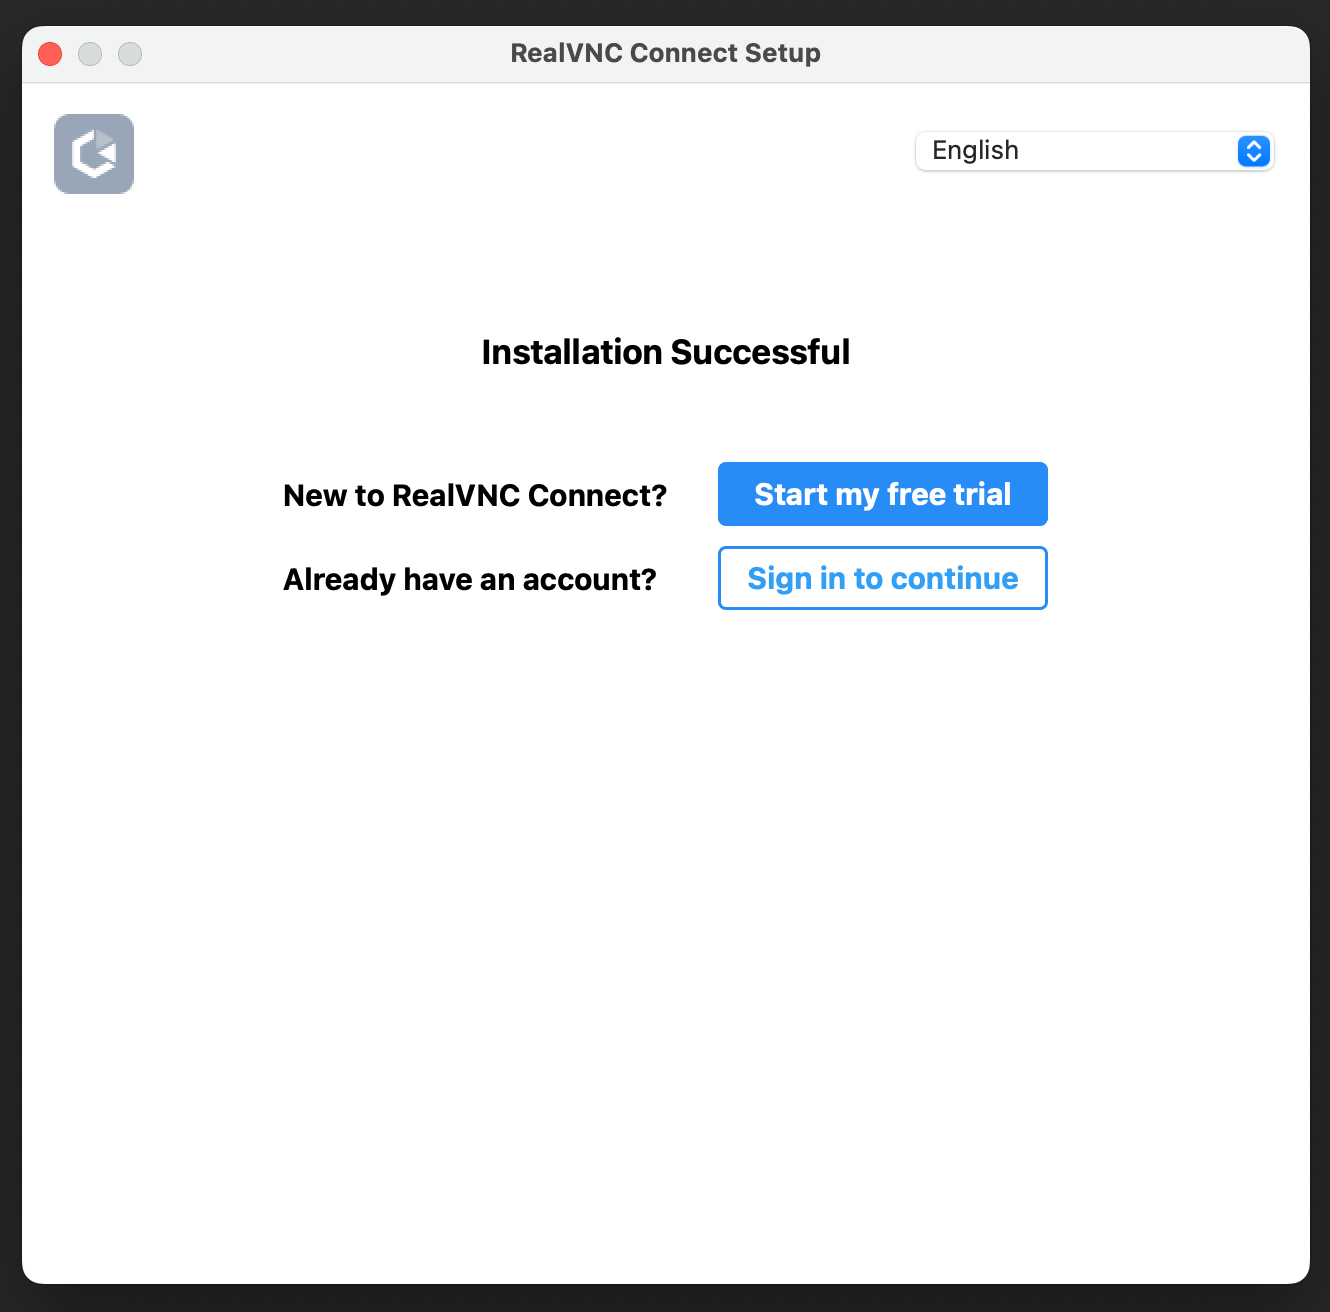
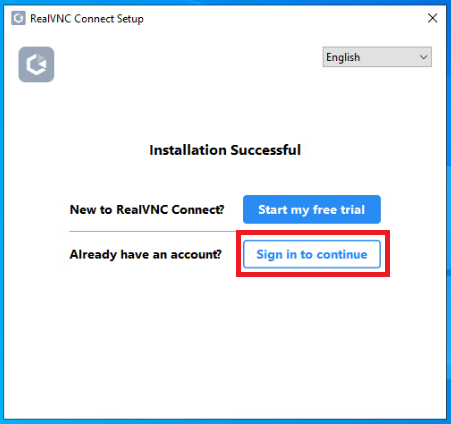
Once the installation is complete, choose to either start a trial or sign in:
Start my free trial:
If you are new to RealVNC Connect and don’t already have an account or subscription, you can get started with a free 14-day trial.
Sign in to continue:
If you are an existing RealVNC Connect user and want to set up this device with your existing subscription.
2. Start a free trial
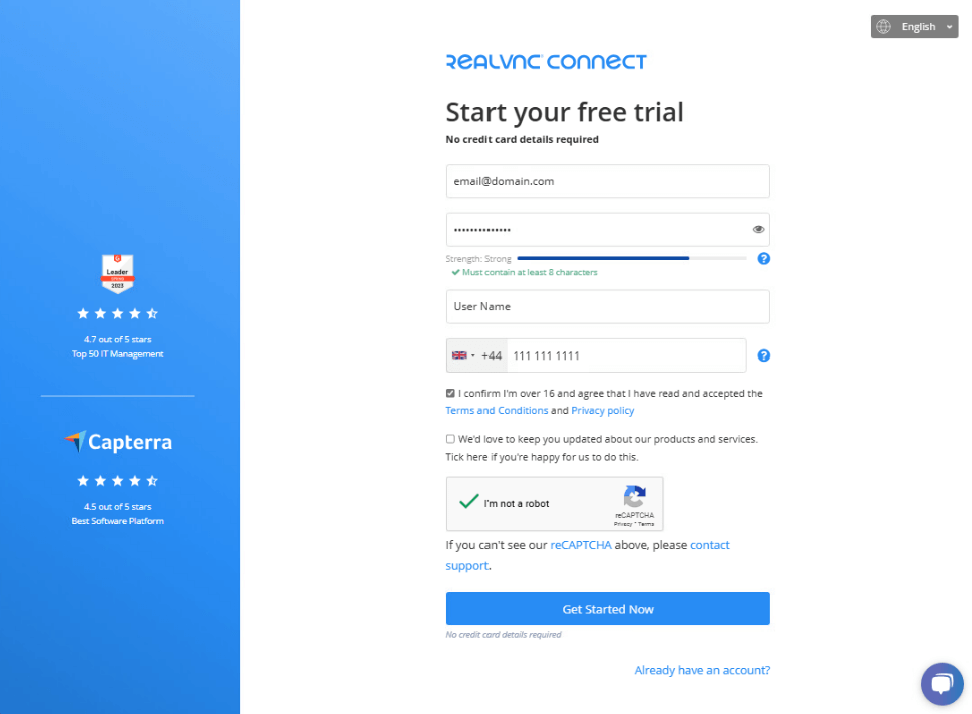
If you are signing up for a free trial, click Start my free trial.
Your web browser will open, provide the information requested and click Get Started Now.
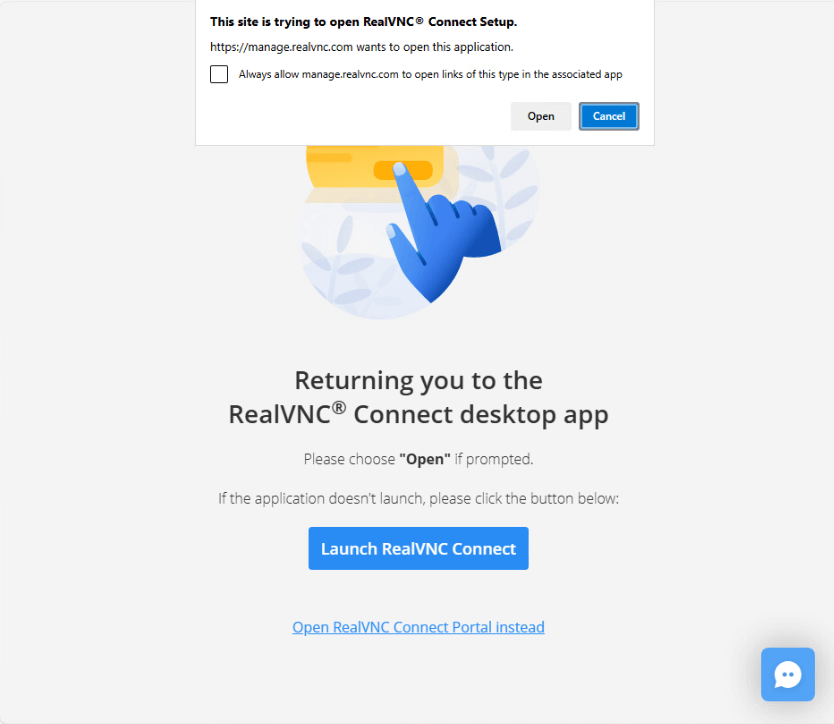
You will be prompted to navigate back to the Setup app. Click the Open button.
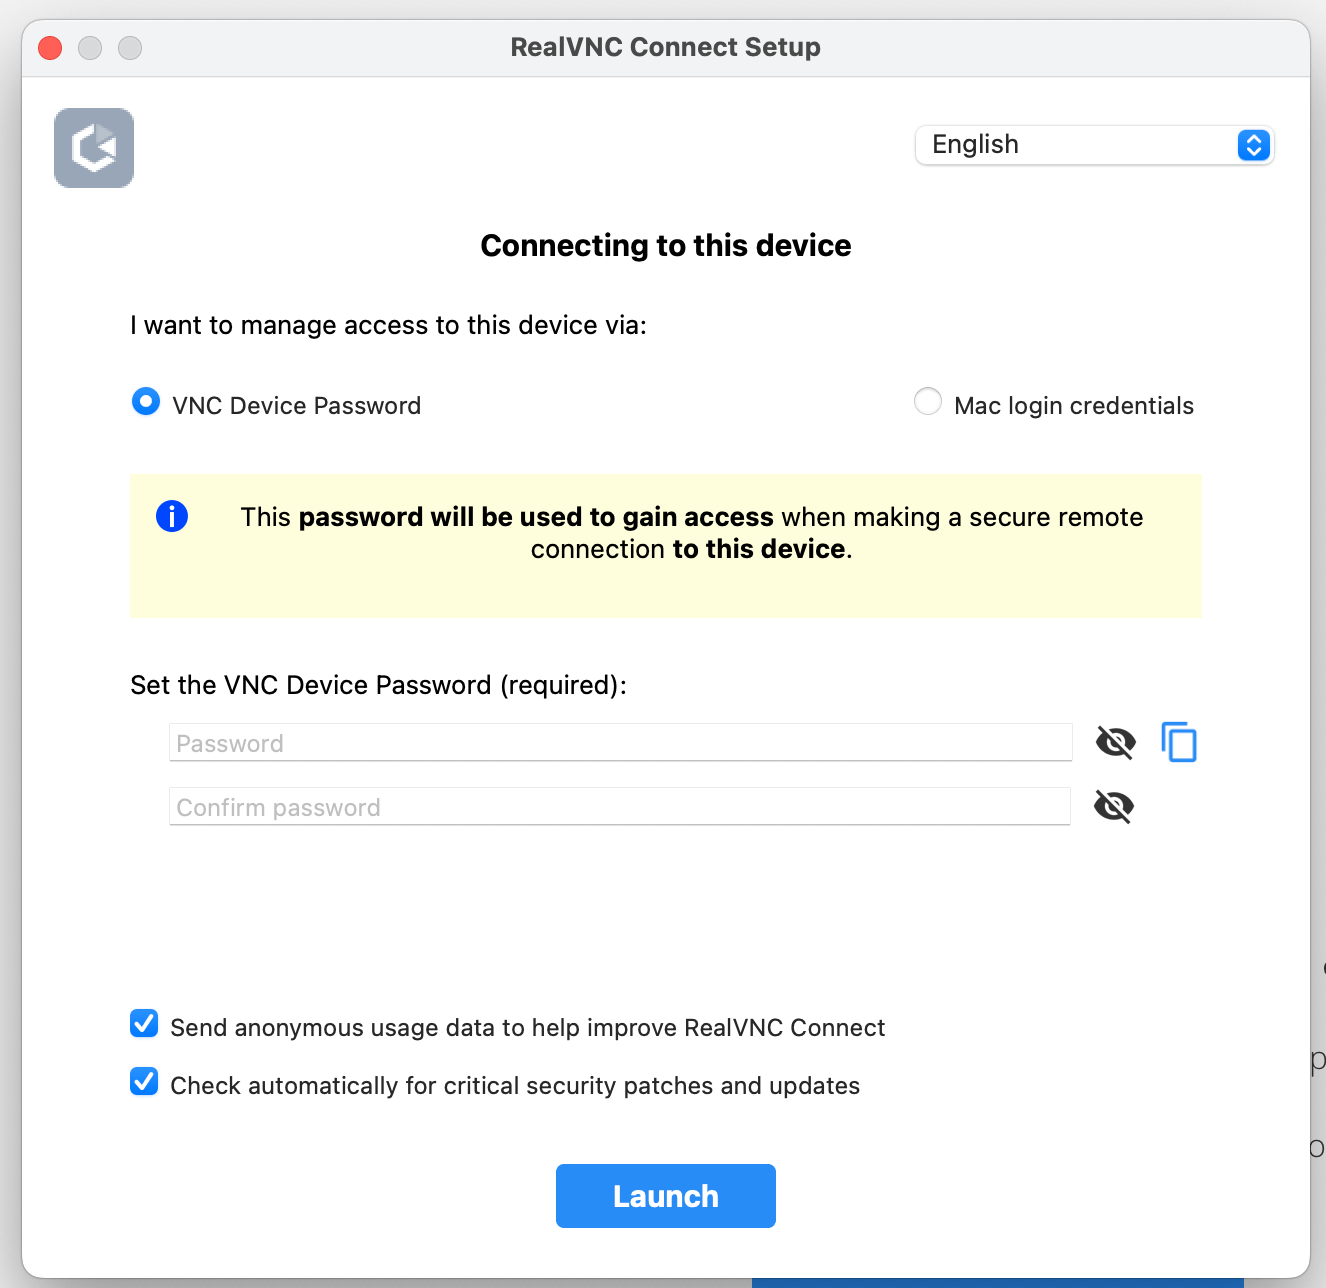
In the RealVNC Connect application, choose the authentication option for your device. The options are:
VNC Device Password:
Enter your own password or choose to generate a secure password. Whatever option you choose, make sure it’s a password you remember or make a note of the password selected on current step. If you proceed with the setup, you will not be able to return and see the password again and will need to reset it in case you lose or forget the password.
Mac login credentials:
Choose this option to authenticate to the remote computer using the username and password of an account (local or domain) of the remote computer. For more information, see What username and password do I enter when I’m trying to connect to RealVNC Server?
Note: If you select Mac login credentials during setup, you need to ensure that the users you want to be able to connect remotely have been given permission (by default,only members of the Administrators group are able to connect). To add other users, see Managing Users and Session Permissions for RealVNC Server
Once you have chosen how you want to authenticate, click the Launch button. When you sign in to the application for the first time the system will guide you through a tutorial flow.
3. Enable inbound connections
To enable inbound connections, follow these steps that can also be found in Getting Started with RealVNC Connect v8.
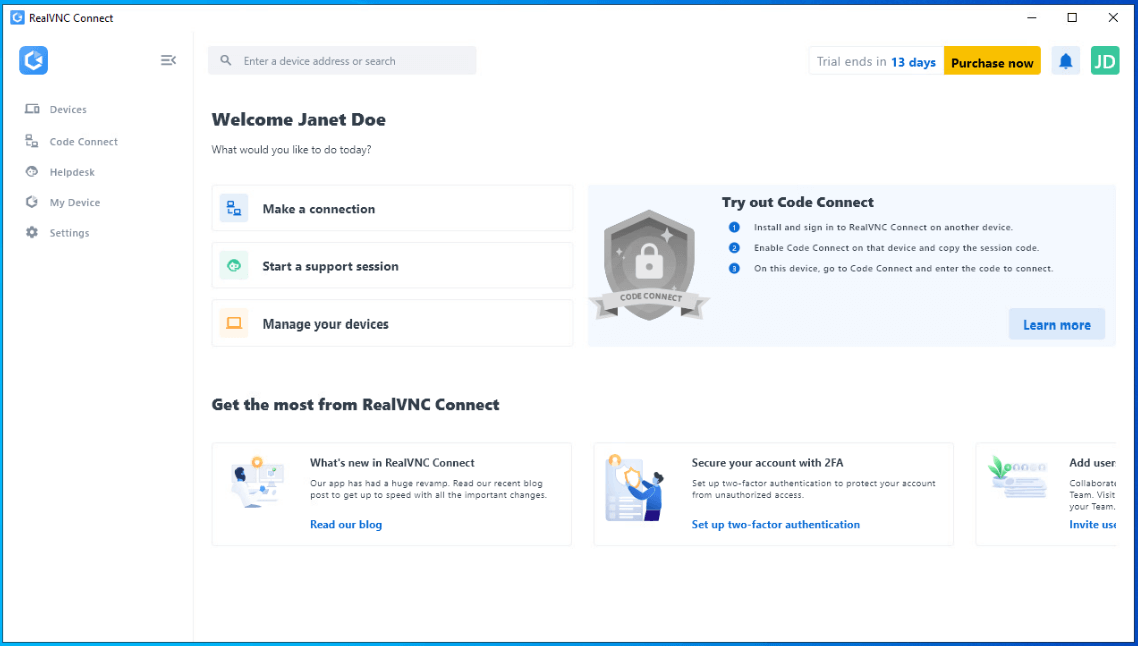
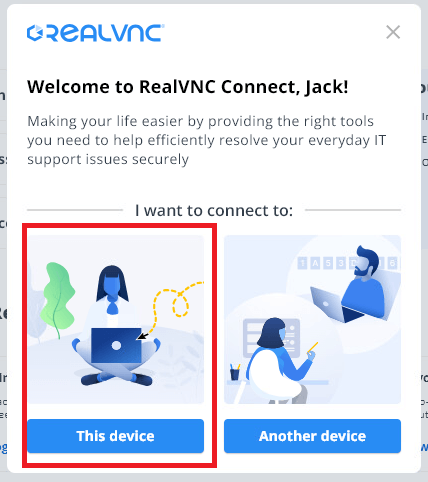
When the app first launches, choose the option for “This Device”.
If you need to enable inbound connections later, navigate to My Device or Settings / Inbound.
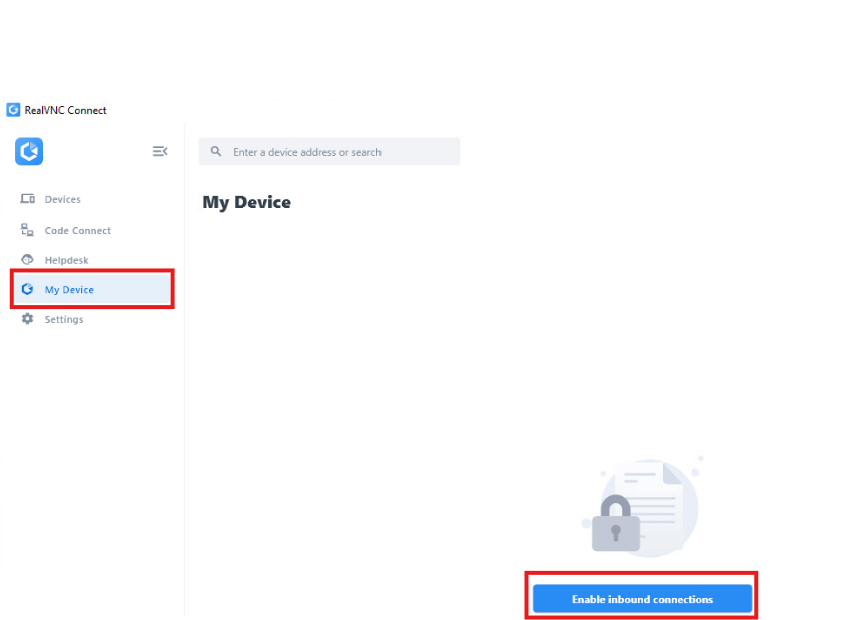

Click the Enable inbound connections button.
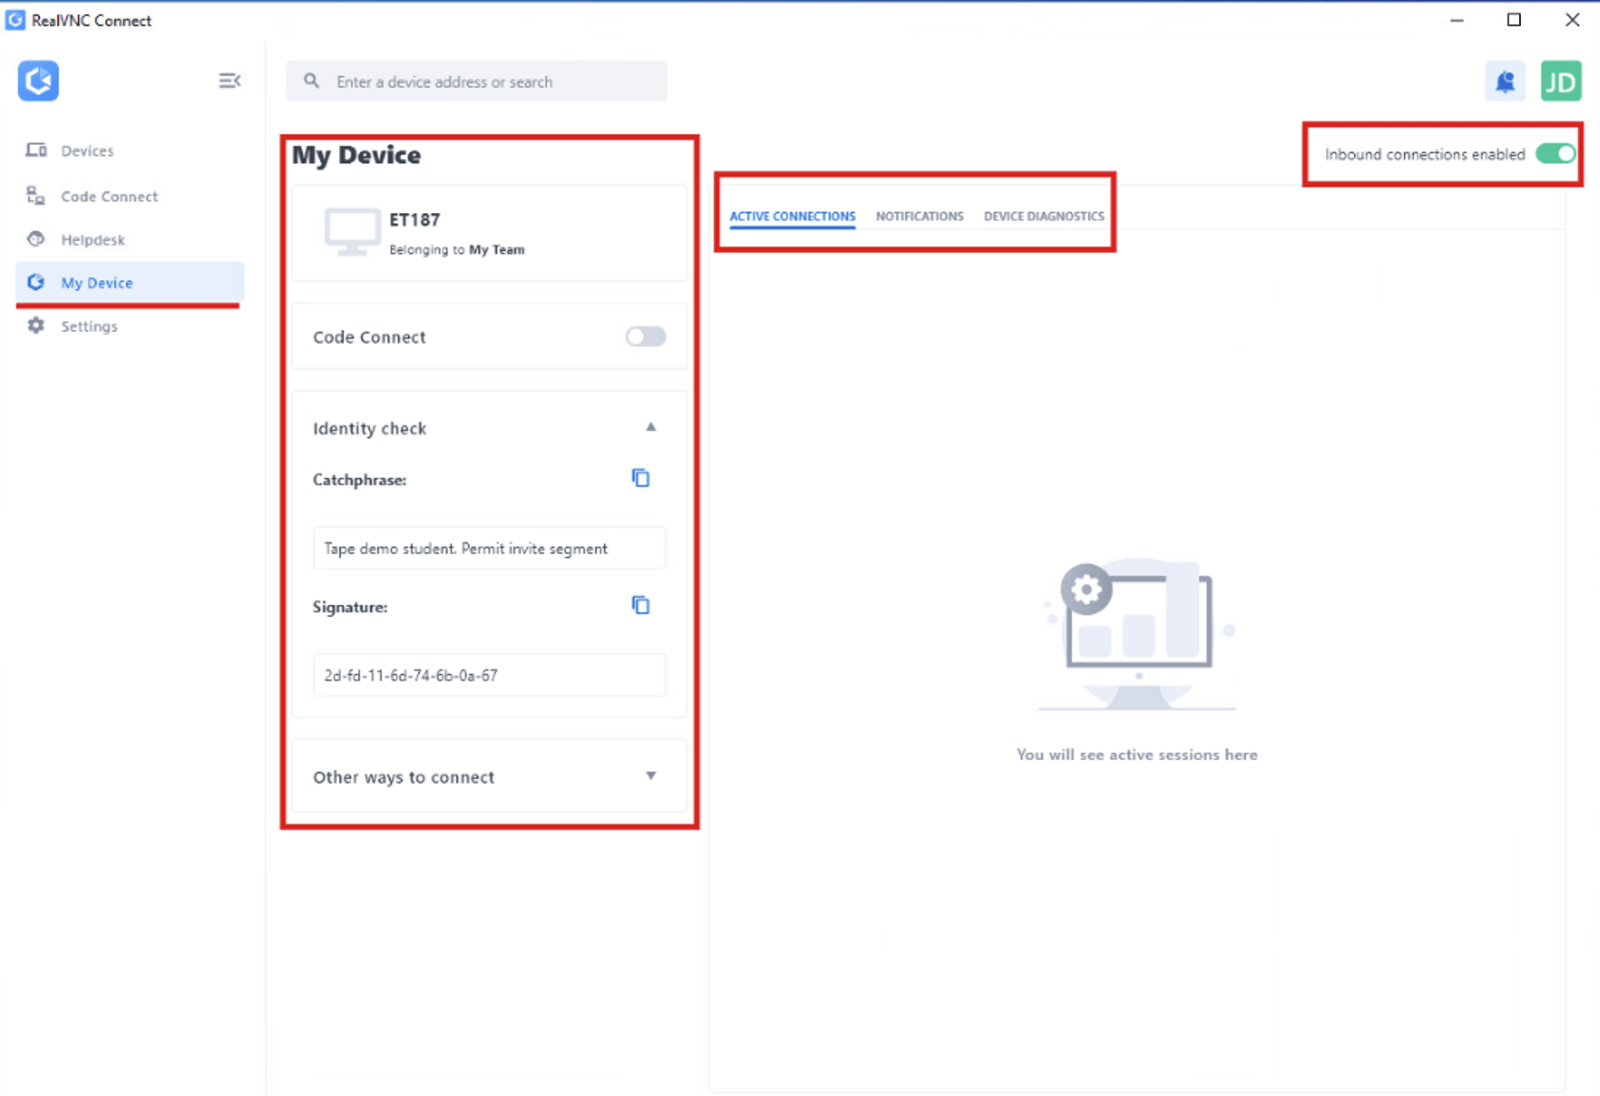
The Settings / Inbound section will display Inbound connection settings options.
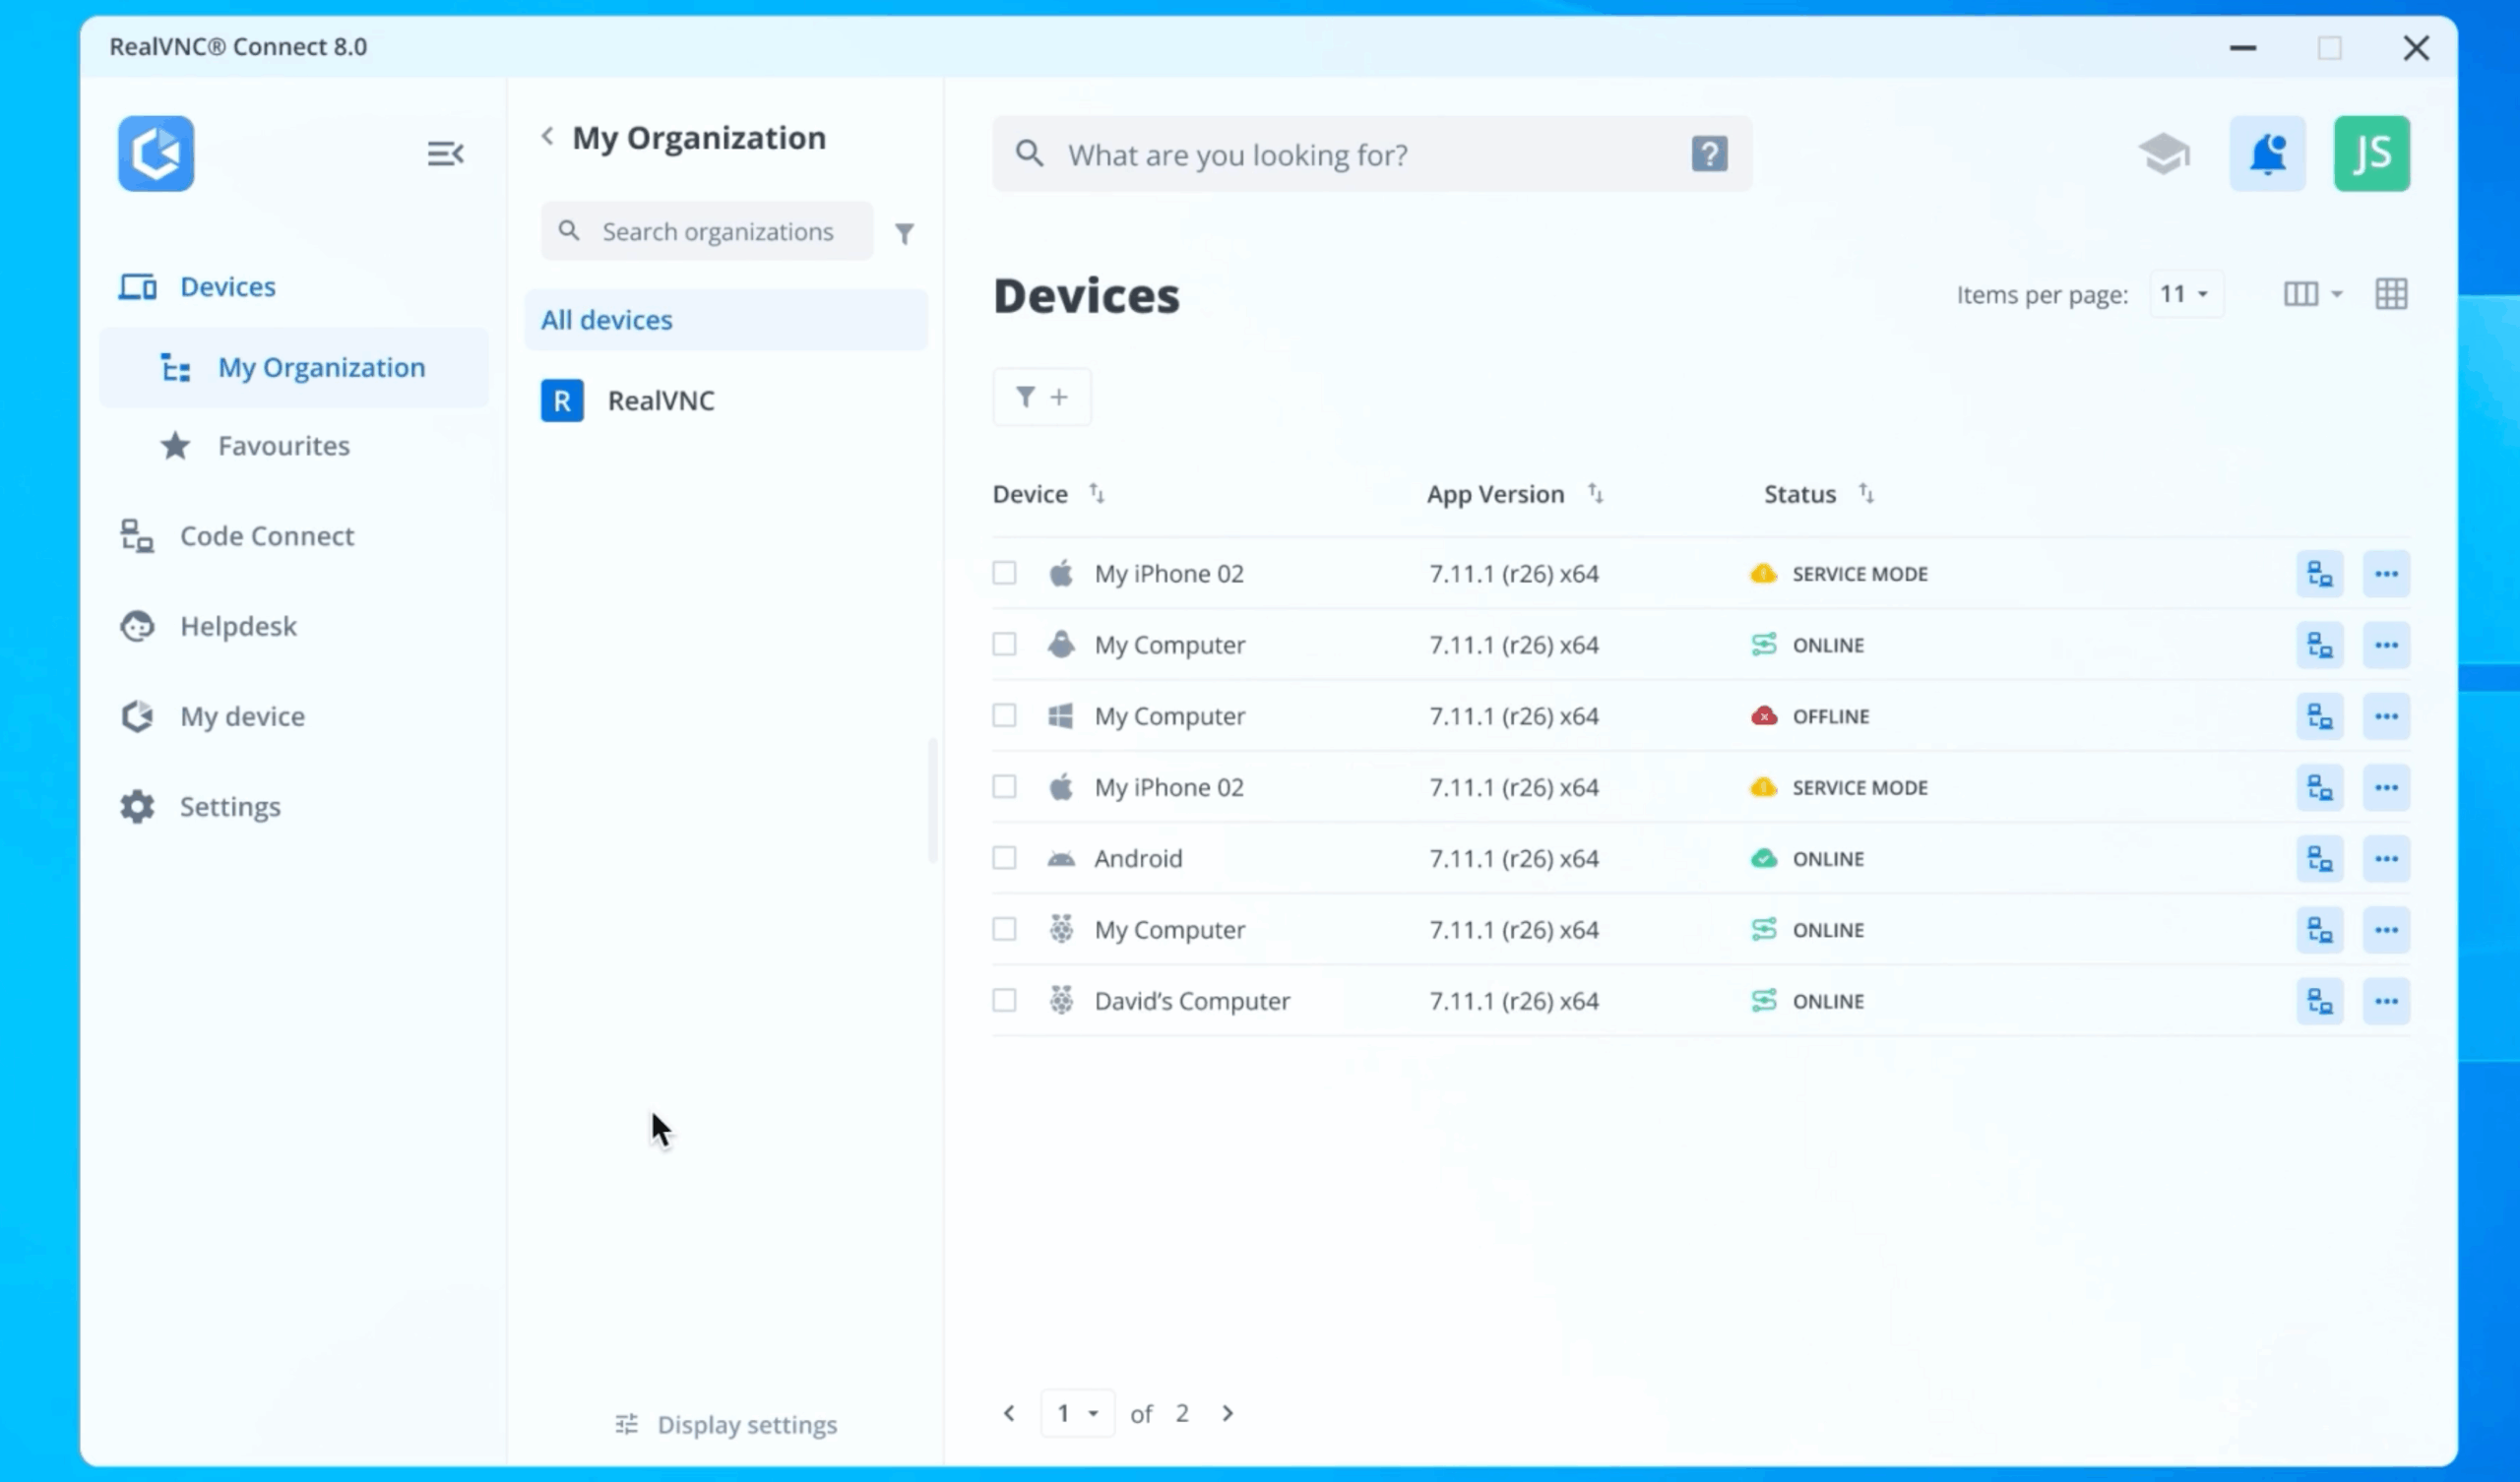
You can adjust the settings in the My Device section, see active connections and toggle inbound connections off and on.
4. Install RealVNC Connect on other devices you want to connect to
Install the RealVNC Connect application onto your other devices you want to connect to.
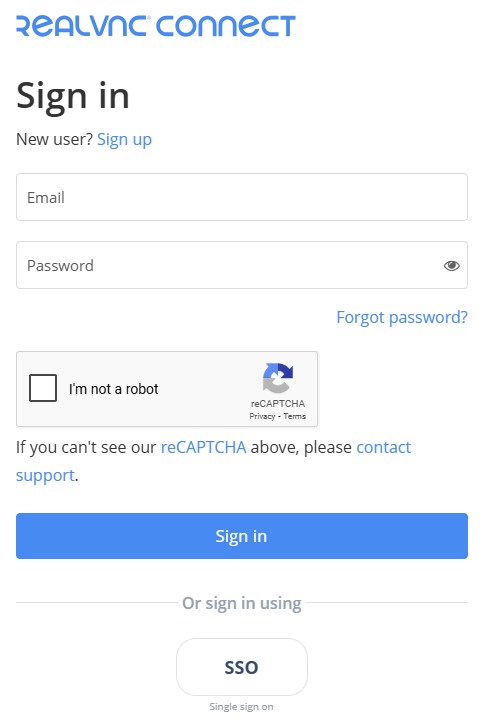
Once the RealVNC Connect application has been installed onto your other devices, click Sign in to continue.
Enter the credentials of your RealVNC account and click Sign in.
If you have not enabled TOTP 2-step authentication (see How do I set up 2-step verification for my RealVNC account?), you will be sent an email asking you to verify signing in on this device.
Click the Continue Signing button in the email.
Click the Authorize sign-in button in the new browser window.

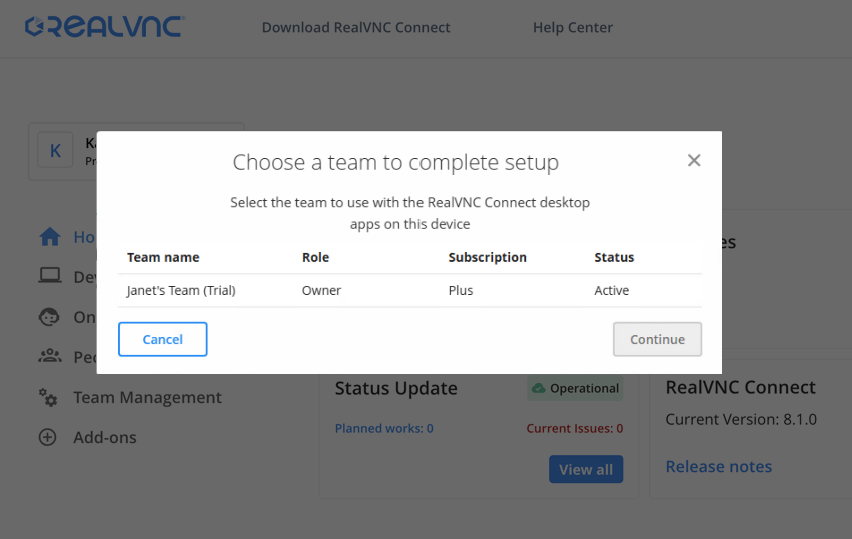
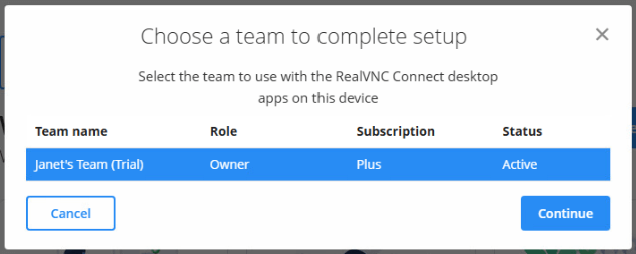
You will be redirected to the RealVNC Portal to choose the team to use with your device. Select your team and click the Continue button.
You will be prompted to navigate back to the Setup app. Click the Open button.
RealVNC Connect is now installed on this device.
Enable inbound connection on this device if you want to be able to connect to it.
5. Connect to your devices
To allow connections to your device there are two options.
Device Access:
To connect to a device which has been added to your team, see Device Access Connections in v8
Code Connect:
To connect to any device running RealVNC Connect – see Connecting using Code Connect
FAQs about Mac screen sharing
How do I enable screen sharing on a Mac?
Go to the Apple menu on your Mac, and select System Settings. In the sidebar, click on General, and then select Sharing from the panel on the right. (You may need to scroll down to find it.)
Once you’ve switched Screen Sharing on, click the Info button on the right to control the authorized number of users.
How do I stop screen sharing on a Mac?
Turning screen share off is very similar to turning it on. Again, go to the Apple menu and find System Settings. Click on General in the sidebar and Sharing on the right.
Now you can just turn Screen Sharing off, and your session will end. It’s as simple as that!
Is it possible to Mac screen share with other operating systems?
Yes, you can screen share between macOS and other operating systems like Windows, Linux, Raspberry Pi, iOS, and Android. RealVNC Connect Version 8 (Beta) introduced a unified app that supports both inbound and outbound connections, so you can use one device, including an iOS device, to control another regardless of platform.
To connect from another system, simply install the RealVNC Connect app on that device, sign in with your RealVNC account, and select the Mac you want to access from your team list. As long as inbound connections are enabled on the Mac, you’ll be able to view the screen, control the desktop, and transfer files just like you would from another Mac.